Sections and Sub-sections
A section is the foundational building block of your course syllabus on Fermion. Before you can add any content—whether it’s a recorded video, live class, quiz, article, or coding lab—you must first create at least one section within your course. Every course item must belong to a section. Sections help structure your course content, making it logical and easy for students to navigate. For example, you might create sections such as “Introduction,” “Core Concepts,” “Practice Exercises,” and “Final Assessment.” Each section can also be further divided using sub-sections. Sub-sections allow you to break content down into smaller, manageable parts, such as lessons, topics, or weeks within a module. This hierarchical organization makes it easier to design comprehensive learning paths and helps students track their progress. Whether you’re importing syllabus items in bulk or adding them individually, all course content lives inside sections and sub-sections. You can always rearrange, rename, or reorganize these sections to improve your course structure as it grows.1
Click on 'Add Course Item'
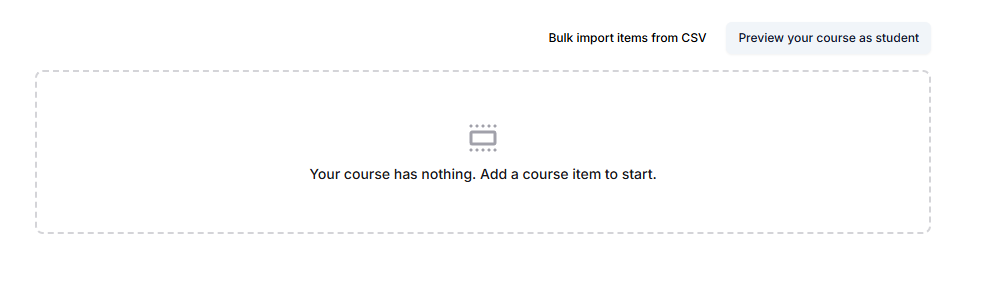 Open your course syllabus and click Add course item.
2
Enter a Section Name
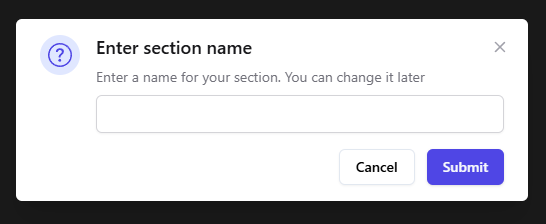 Provide a name for your new section.
3
Note: Each Section Starts with an Article by Default
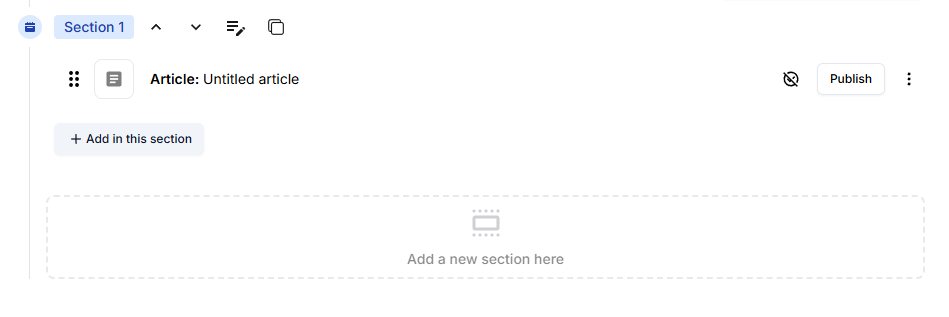 When you create a section, an article is automatically added as the first item.
4
Add More Items to This Section
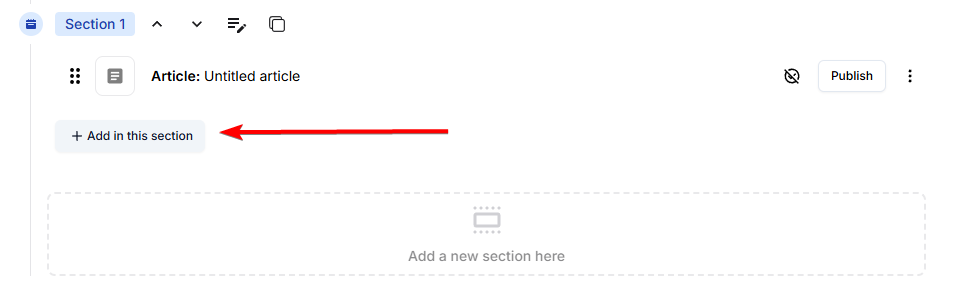 Click the
 + add in this section button to add content.5
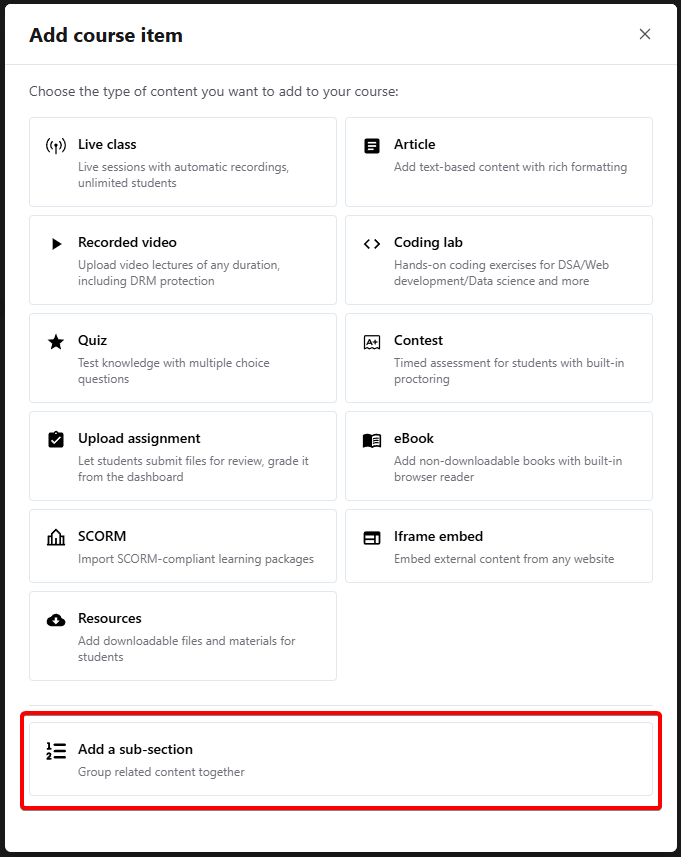
Choose a Course Item or Add a Sub-section
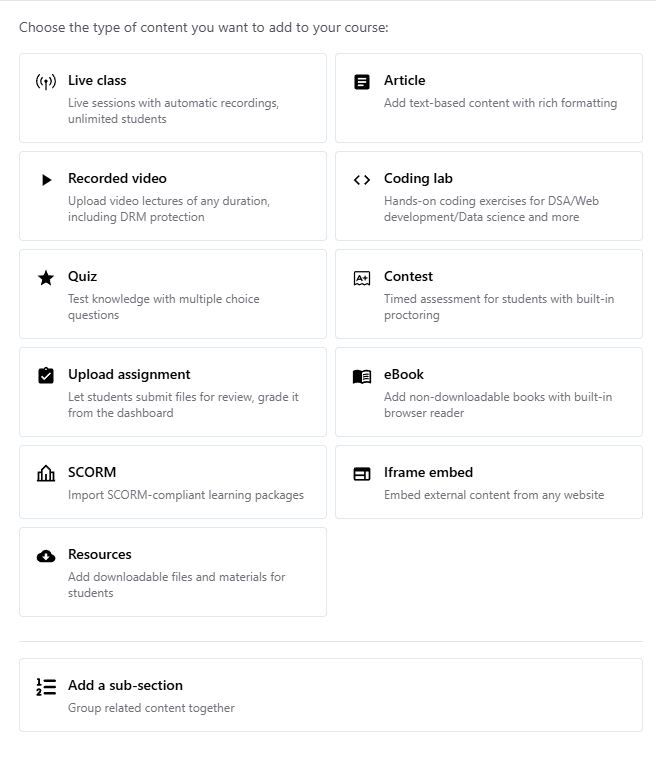 Select from the available course items or add a sub-section.
6
Publish Your Course Items
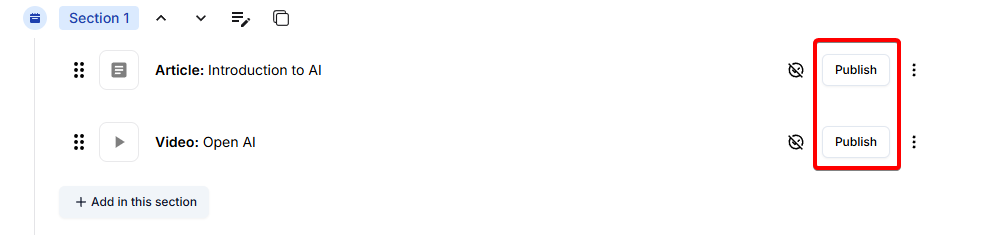 When you’re ready, publish your course items to make them live for students.
Adding and Organizing Sections
A well-structured course starts with well-defined sections. Sections act as the main chapters or modules of your syllabus and help students navigate through your course with ease.How to Add a New Section
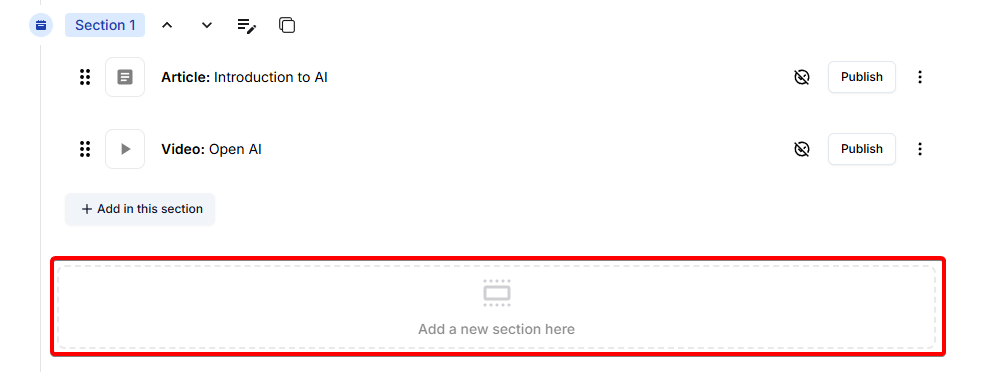
To keep your course organized and easy to follow, consider breaking it into meaningful sections, such as “Getting Started,” “Theory Lessons,” or “Practice Activities.” To add a new section:- Navigate to Your Course Syllabus: Open the syllabus page for your course.
- Click “Add Course Item”: Choose the option to add a new section.
- Name Your Section: Enter a descriptive name that captures the content theme.
 You can add as many sections as your course requires. This flexibility allows you to introduce new modules as your course grows or as you refine its flow based on student feedback.
Creating Sub-sections for Finer Structure
Sub-sections allow you to break a section into smaller, digestible parts such as individual lessons, topics, or weeks. For example, within a section called “Module 1: Basics,” you might create sub-sections for “Lesson 1: Introduction,” “Lesson 2: Key Concepts,” and so on. To add a sub-section:- Within Your Desired Section: Locate the section where you want to add more detail.
- Click “Add Sub-section”: Use the corresponding button or menu in the section.
- Provide a Name: Give your sub-section a specific, clear label that reflects its content.
 You can create as many sub-sections within each section as you need—perfect for breaking up longer modules or grouping related lessons together.
How Sections and Sub-sections Appear to Students
Fermion presents your syllabus in a clean, expandable list so that students can quickly see what’s ahead and keep track of their learning journey. Sections are displayed as main headers, with sub-sections shown nested underneath. This tree-like structure promotes both clarity and easy navigation. Here’s how a typical syllabus with sections and sub-sections will look to learners: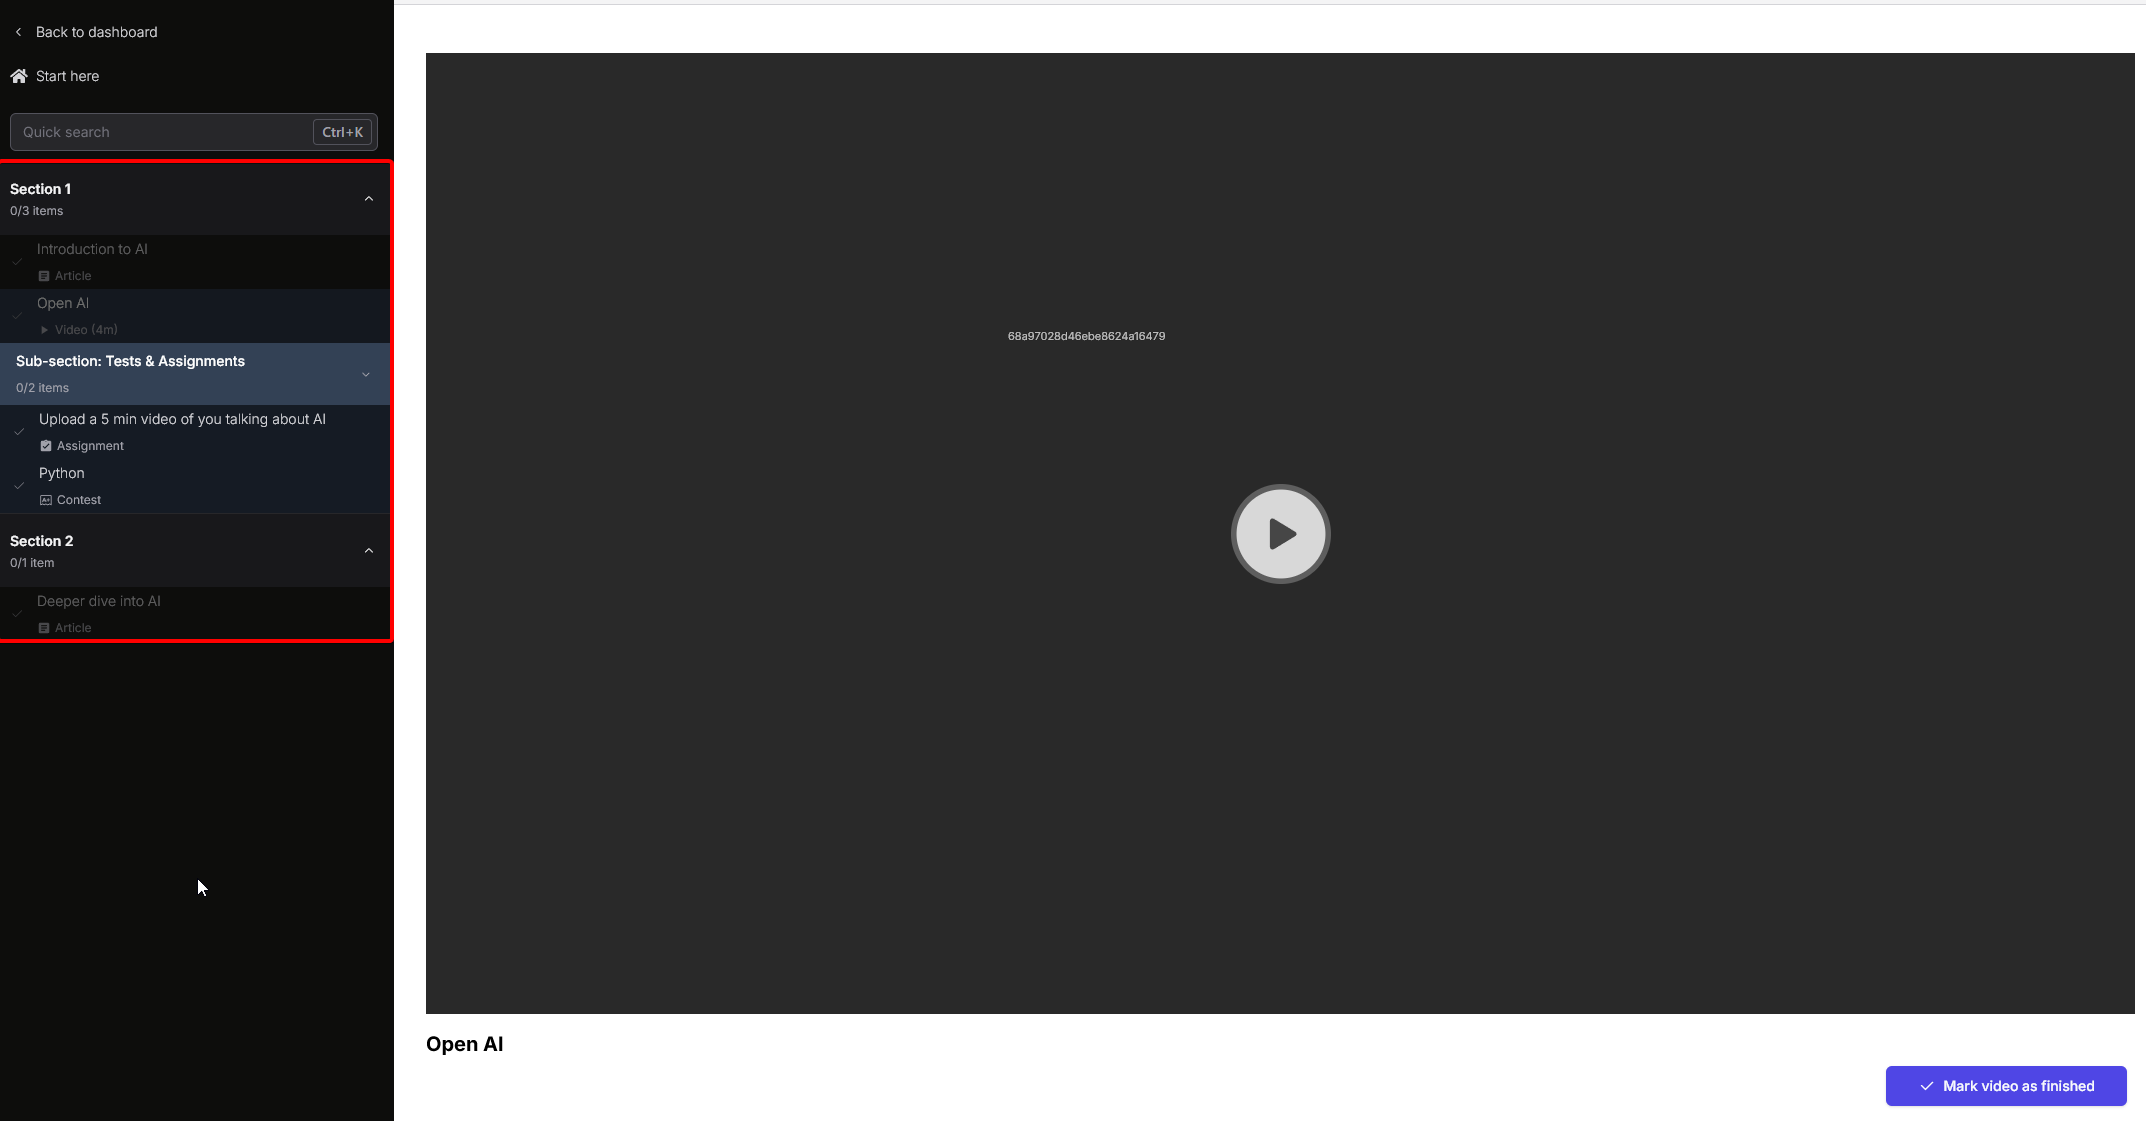 This format encourages students to move through your course step-by-step, while still letting them jump to specific modules or lessons as needed. As an instructor, you have the flexibility to rearrange sections and sub-sections at any time if you need to refine your course structure.
Clone Sections to Other Courses
You can easily reuse the structure of your course by cloning sections into other courses that you manage. This is useful for duplicating module templates, onboarding content, or lesson structures without rebuilding them manually.How to Clone a Section
1
Hover and Click the Clone Icon
Move your cursor over the section you want to duplicate and click the Clone icon.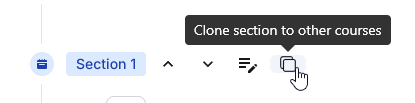
2
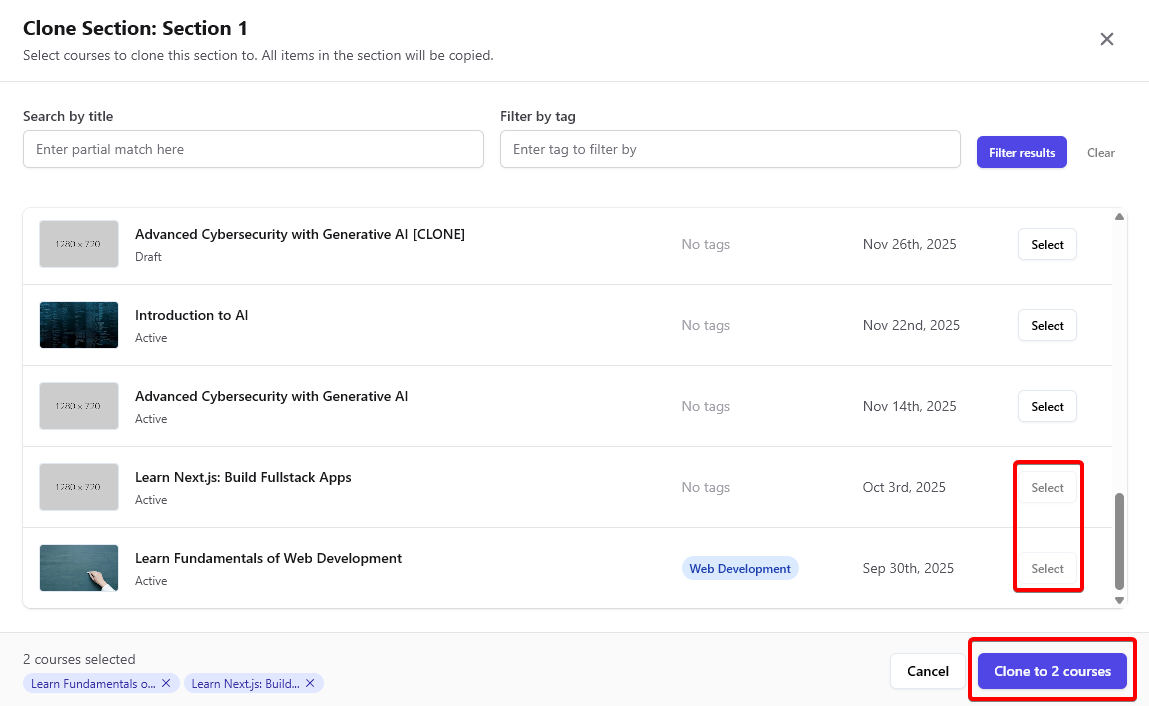
Select Destination Courses
A pop-up will appear listing your available courses. These are courses where you can copy (clone) the selected section.

3
Choose Courses
Select one or more courses where you want to copy the section by clicking Select next to each course.
4
Confirm and Clone
Review your selections, then click Clone to courses. The chosen section (including all its sub-sections or items) will be added to every selected course.
Course Items
Click on any course item below to learn more about how to create and manage it:Article
Add text-based content with rich formatting
Recorded video
Upload video lectures of any duration, including DRM protection
Live class
Schedule and conduct interactive live sessions with your students
Coding lab
Hands-on coding exercises for DSA/Web development/Data science and more
Quiz
Test knowledge with multiple choice questions
Contest
Timed assessment for students with built-in proctoring
Upload assignment
Let students submit files for review, grade it from the dashboard
eBook
Add non-downloadable books with built-in browser reader
SCORM
Import SCORM-compliant learning packages
Iframe embed
Embed external content from any website
Resources
Add downloadable files and materials for students
Modify Availability
Modify Availability is a feature to make your course items available on a specific date and a specific time. It’s especially used for Content Dripping.
Content dropping is a method of releasing course materials to students at scheduled intervals rather than all at once. This approach helps maintain a structured learning path and prevents students from feeling overwhelmed by too much information at once. It also helps keep students engaged and ensures they are progressing through the course at a manageable pace.
If you want to adjust availability of course items:
-
Step 1: Click on the three dots infront of the course item you wish to modify.
- Step 2: Click on “Modify Availability”
-
Step 3: Once you “Enable” the “Content Dripping” mode. You can selecte a date from which your course item will be made available.
-
Step 4: Click on
Saveand you’re good to go.