Design your course metadata
 Setting up your course metadata is the first essential step. This includes:
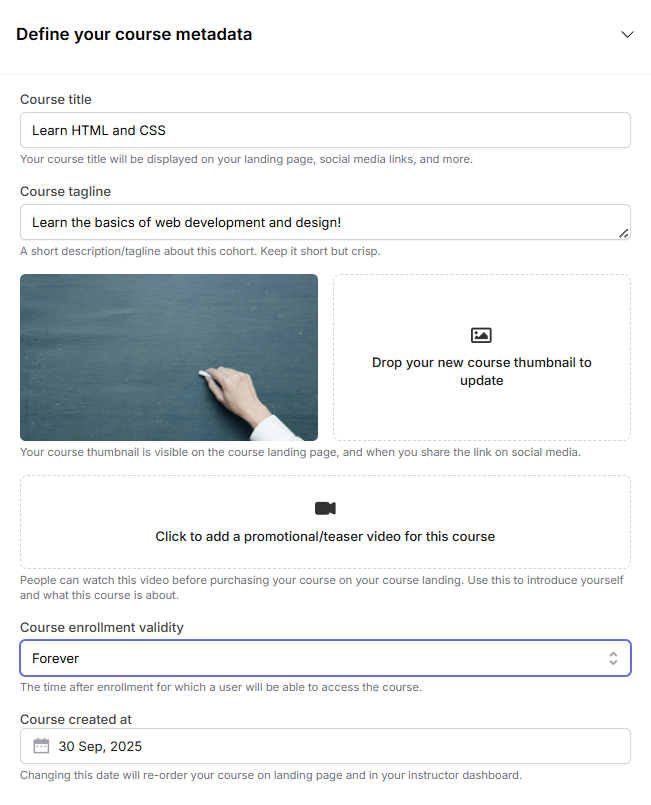
- Creating an engaging course title
- Writing a compelling tagline
- Designing an attractive thumbnail
- Adding a promotional or teaser video
Course Enrollment Validity
You can set the enrollment validity for your course. For example, Forever means that learners will have access to the course content indefinitely after enrollment. Adjusting this setting allows you to control access duration for your students. You can also set up custom validity, where you will have to enter the number of hours learners should have access to the course after enrollment. Once this time expires, they will no longer be able to view the content.Course Created At
This field shows the date when the course was created (e.g., 30 Sep, 2025). Changing this date will reorder your course on the landing page as well as in your instructor dashboard. This can help highlight newer or updated courses to your audience. All changes are saved automatically in real-time as you edit. We’ll discuss this in more detail later in this guide.Set course goals and outcomes
Set your cohort dates
Note: This section is only available when you’ve selected “Cohort-Based Course” during course creation.- Enrollment Deadline - The final date when students can register for the course.
- Start Date - The official beginning date of your course.
- End Date - The final day of your course.
Set course description
Set landing page FAQs
FAQs are an excellent way to address common questions and concerns that potential students may have.Set landing page reviews
Fermion simplifies the process of showcasing reviews on your course landing page. You can create authentic reviews from scratch within the platform, giving you complete control over the content.- Reviewer’s name
- Star rating
- Detailed review content
- Profile photo URL
- Job title
- Company or organization name
Set sample certificate
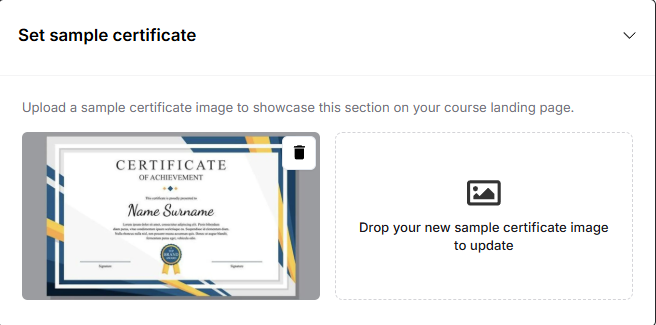 Showcase the certificate of completion that learners will receive after finishing your course.
This feature helps students visualize the tangible outcome of their learning journey, motivating them to enroll. You can upload a sample certificate image directly from your dashboard.
Set landing page instructor
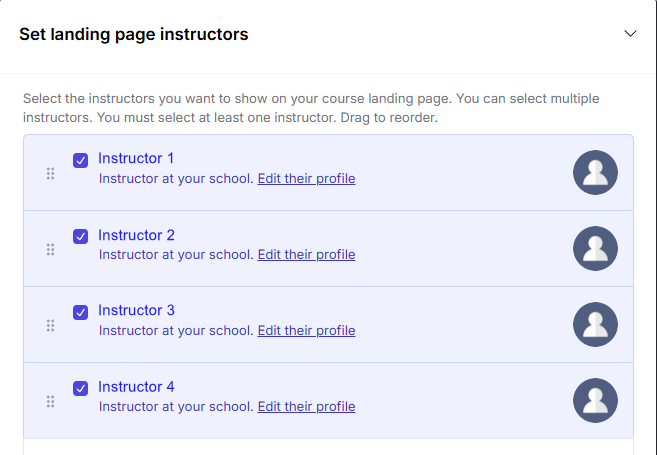 The Instructor Section allows you to highlight the person behind the course - you!
This section allows you to choose which instructors appear on your course landing page. This helps learners connect with the instructor and builds trust through authenticity and transparency.
Manage syllabus
Publish your landing page
Once you’ve completed your metadata setup, your course landing page is ready for publication.- Draft: Courses in draft state are only accessible to instructors.
- Unlisted: Unlisted courses can be accessed directly via link but won’t appear on the homepage by default.
- Published: Published courses are publicly available and will be listed on the homepage.