Before you begin, make sure Contests are enabled under Manage Features in your instructor dashboard. This is required to create and run contests on Fermion. Learn how to enable features here.
Adding questions to your contest
When building your contest, you can add different types of questions to assess participants in various ways. Fermion supports the following question types:- Interactive Coding Lab: Real-time coding problems where participants write, run, and submit code in an interactive editor. Useful for practical programming assessments.
- DSA Coding Lab: Specialized coding questions focused on Data Structures and Algorithms. These problems are auto-graded and can include custom test cases.
- Quizzes: Multiple-choice or short-answer questions to test theoretical knowledge or concepts.
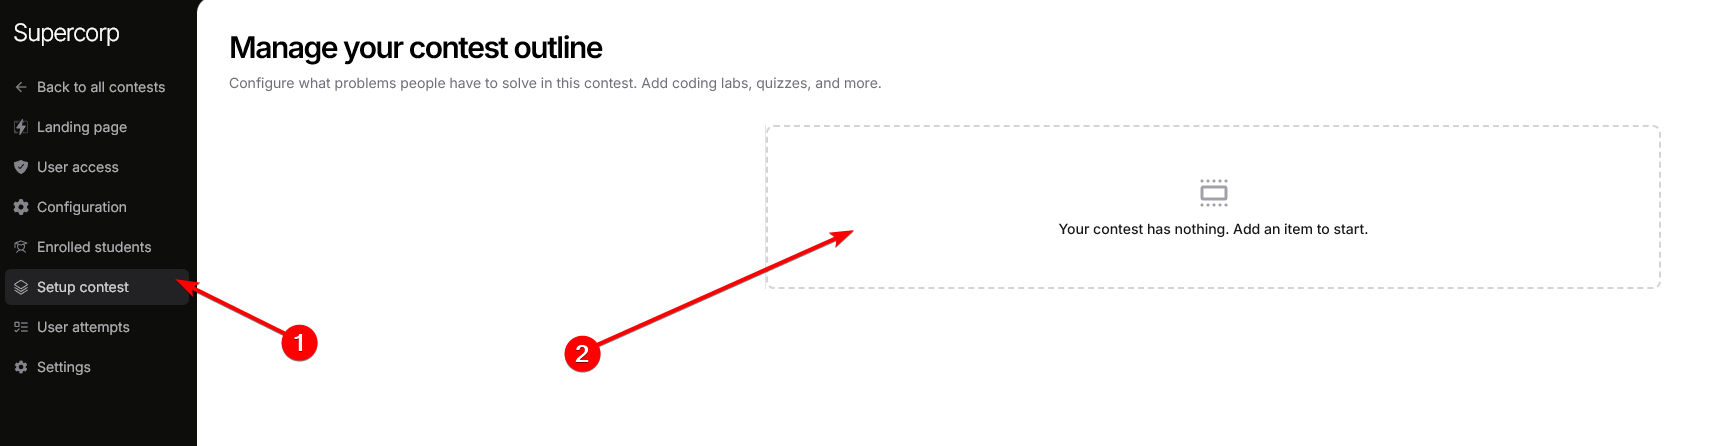
Steps to add questions and configure your contest
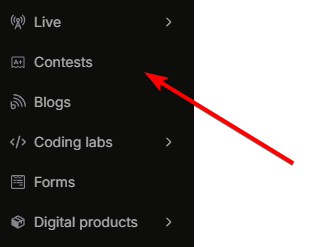
Navigate to contests
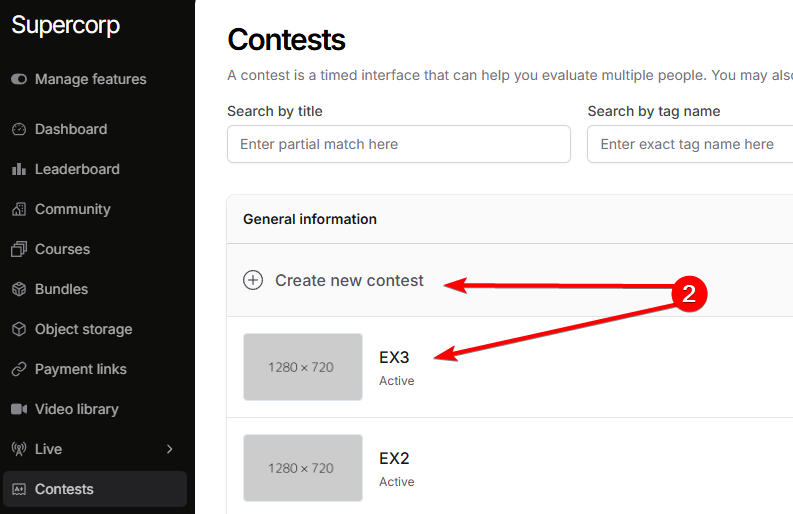
- Go to your Instructor dashboard → Contests.
- Click Create new contest to start a new contest, or select an existing contest to edit its questions and settings.
Add more items to the contest
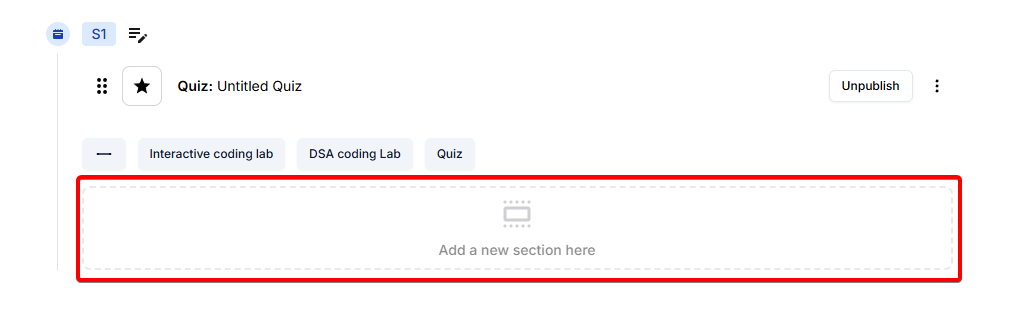
By default, a quiz is added when you create an item / section in an empty contest. You can add more items to this contest by clicking on the 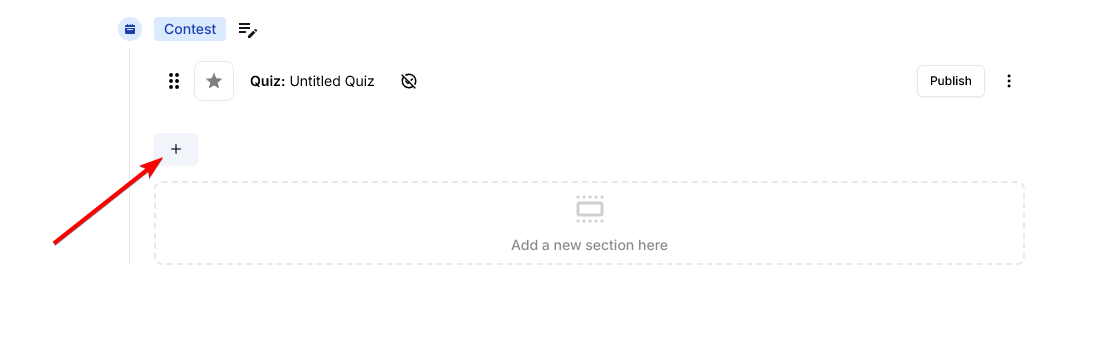 Or, you can also add multiple sections to the contest, which are shown to user / student in different sections.
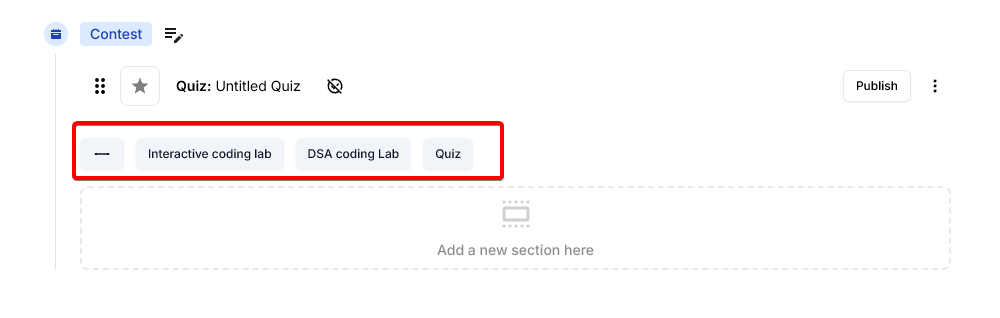
 Then, you can choose from one of the 3 options :
+ icon.
Or, you can also add multiple sections to the contest, which are shown to user / student in different sections.
Then, you can choose from one of the 3 options :- DSA lab
- Interactive lab
- Quiz
Link or create the labs
To attach coding labs, click on the 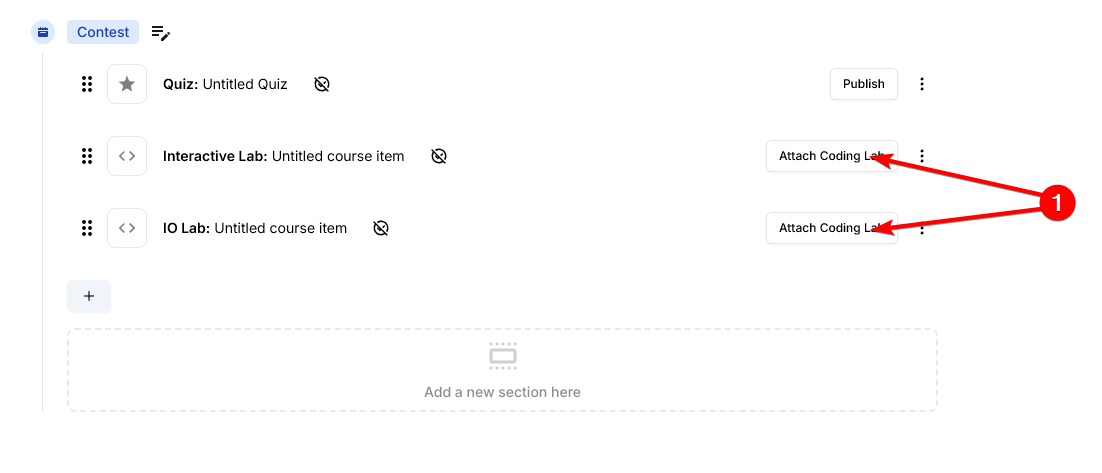 Then, you can choose to either
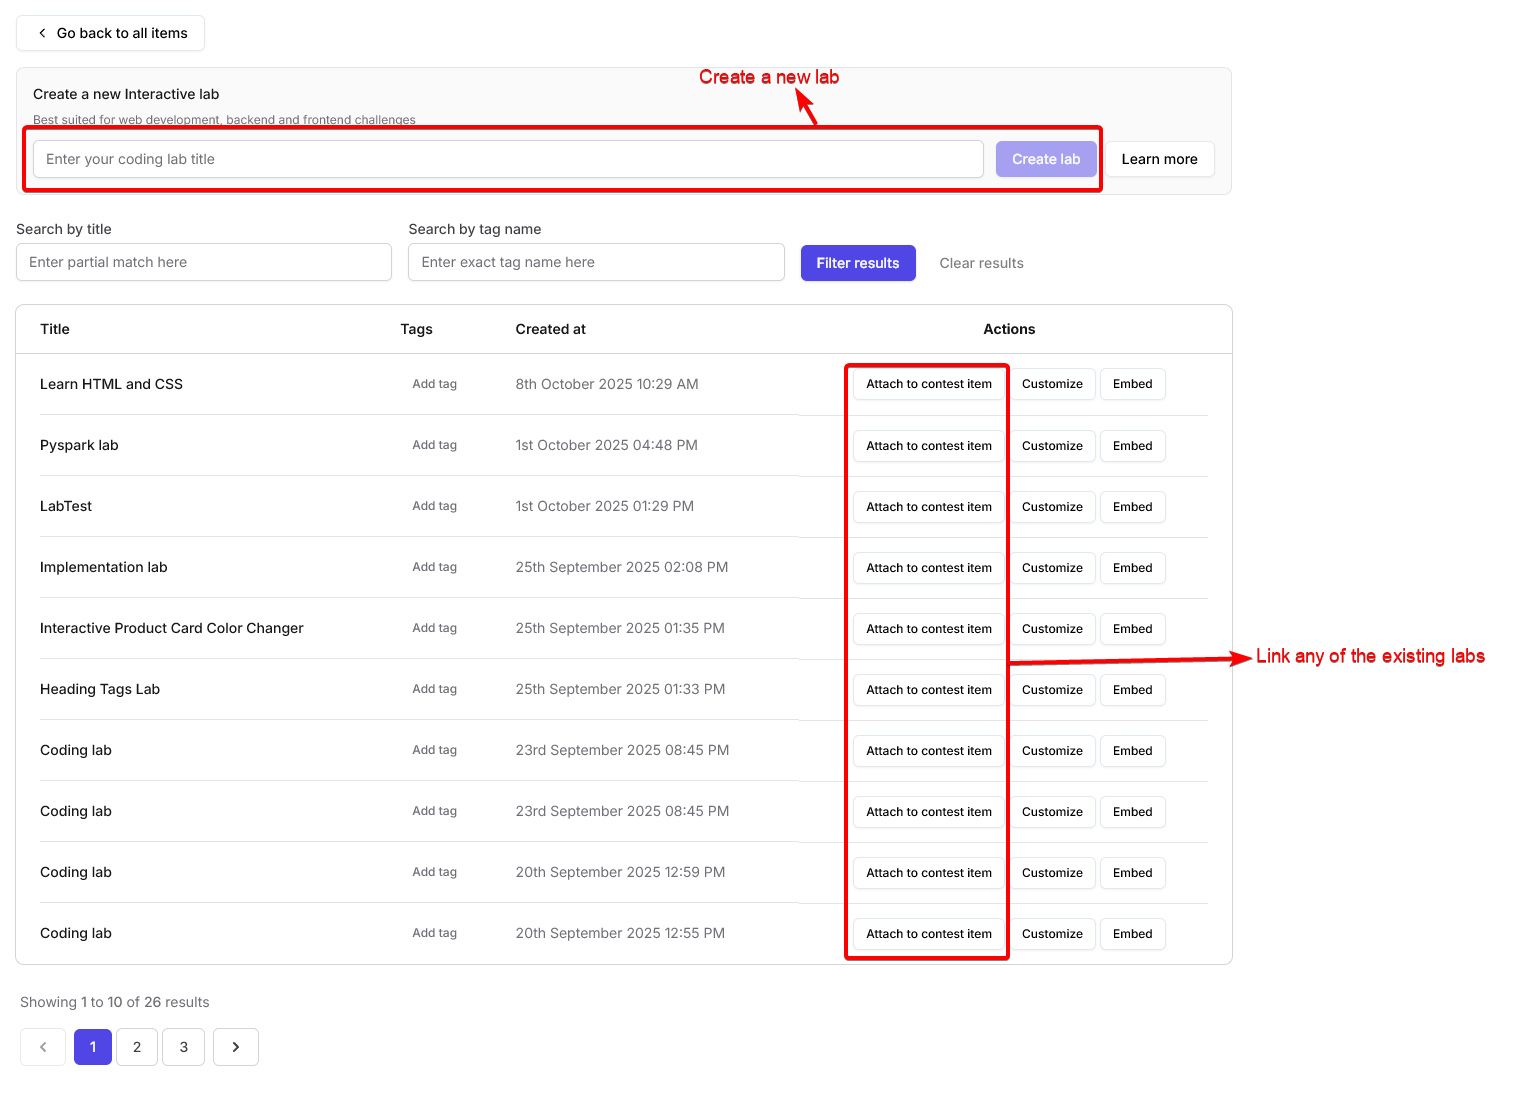
Attach coding lab button.
Then, you can choose to either Attach an existing lab or Create a new one
Publish and share Your contest
Once your contest is ready:
- Click Publish to make the contest live.
- You can update the contest link, set it to Unlisted or Draft mode, and share the contest link with participants.
You can also link your contest to a course or bundle, allowing enrolled students to participate automatically. Learn more about integrating contests with courses in the Contests Introduction documentation.
Sectional timer for contests
You can set individual time limits for each section of your contest using sectional timers. This helps structure your contest more effectively and ensures participants manage their time within each sectionHow to set sectional timers
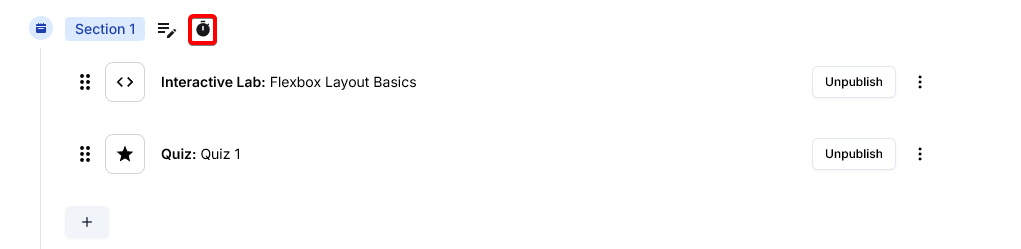
Click on the timer icon next to the section name
Click on the timer icon beside the section name to set the sectional timer.
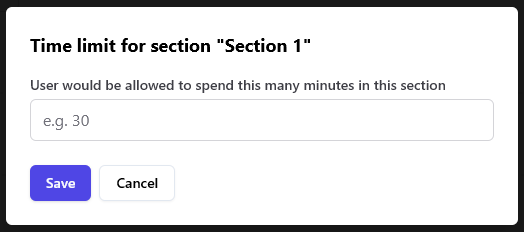
Enter the maximum number of minutes for the section
A dialog will appear where you can specify the max minutes allotted to this section. Enter the desired value.
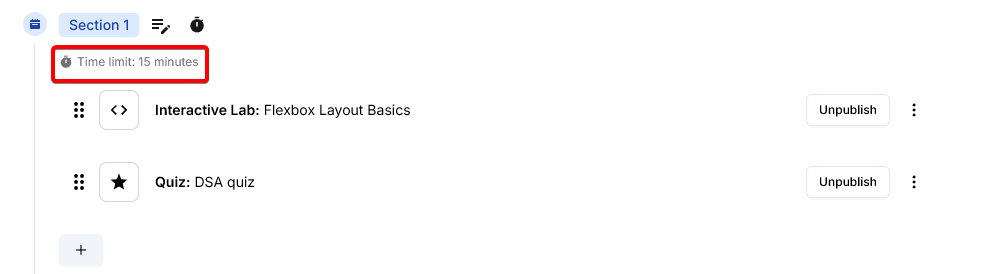
Timer appears below the section name
Once set, the time limit will be shown beneath the section name and in the sidebar timer. This helps participants track their remaining time for each section.
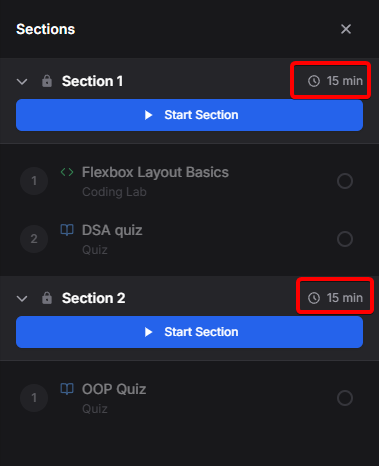
 When the contest begins, users see the time remaining for each section in the sidebar, making it easy to manage their time.
When the contest begins, users see the time remaining for each section in the sidebar, making it easy to manage their time.
Note: The total time across all sections must not exceed the total contest duration. The platform will prompt you if you exceed the overall contest time limit.