Applying tags to a course
Tags help categorize your courses so visitors can quickly find content by category when they browse your school website. You can apply tags to each course to improve discoverability and make it easier for new users to filter courses by topic or interest.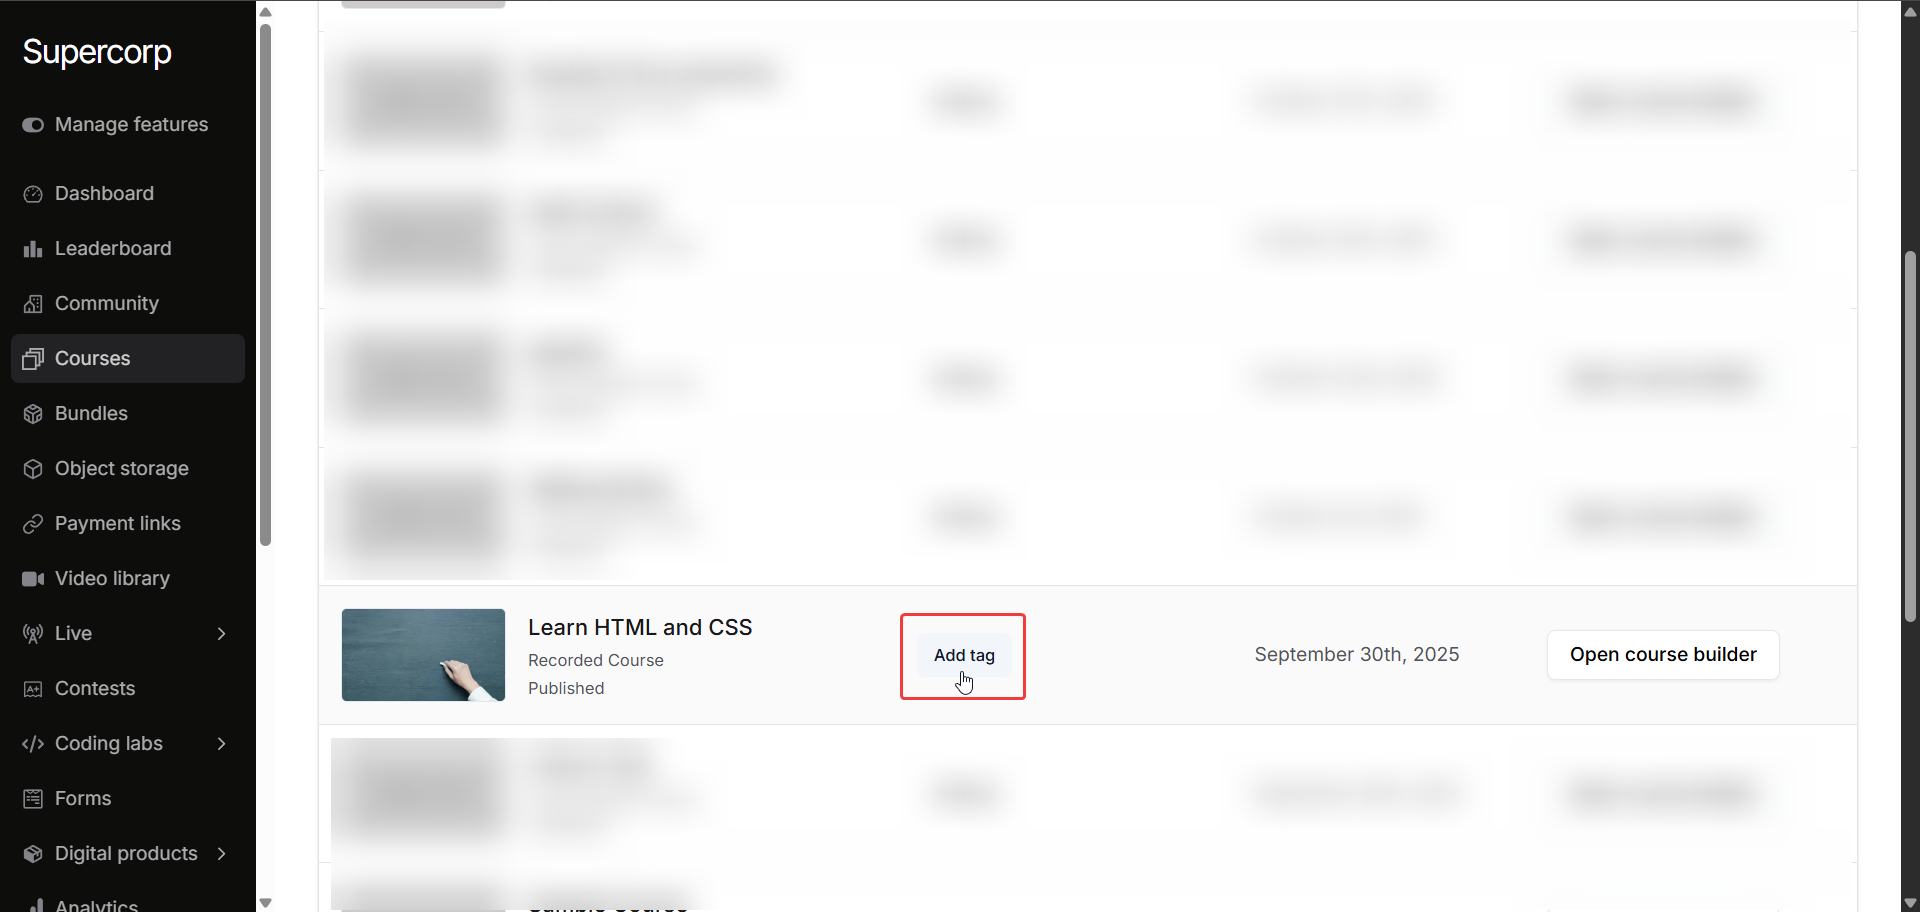
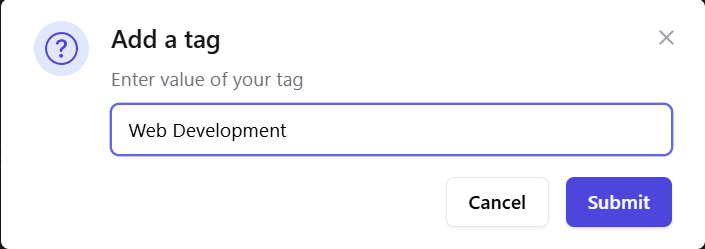
Add tag name
Add a suitable value for the tag name. Make sure to add the same tag name as other courses of same category so that all the items are grouped together.
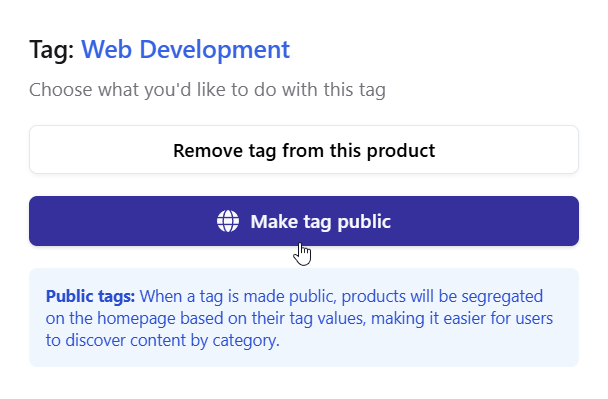
Make the tag public
Open the tag Settings by clicking on the tag label
 Click Make tag public. This ensures the tag is displayed on your school website. You can also remove the tag from the course here.
Click Make tag public. This ensures the tag is displayed on your school website. You can also remove the tag from the course here.

Applying tags to course items
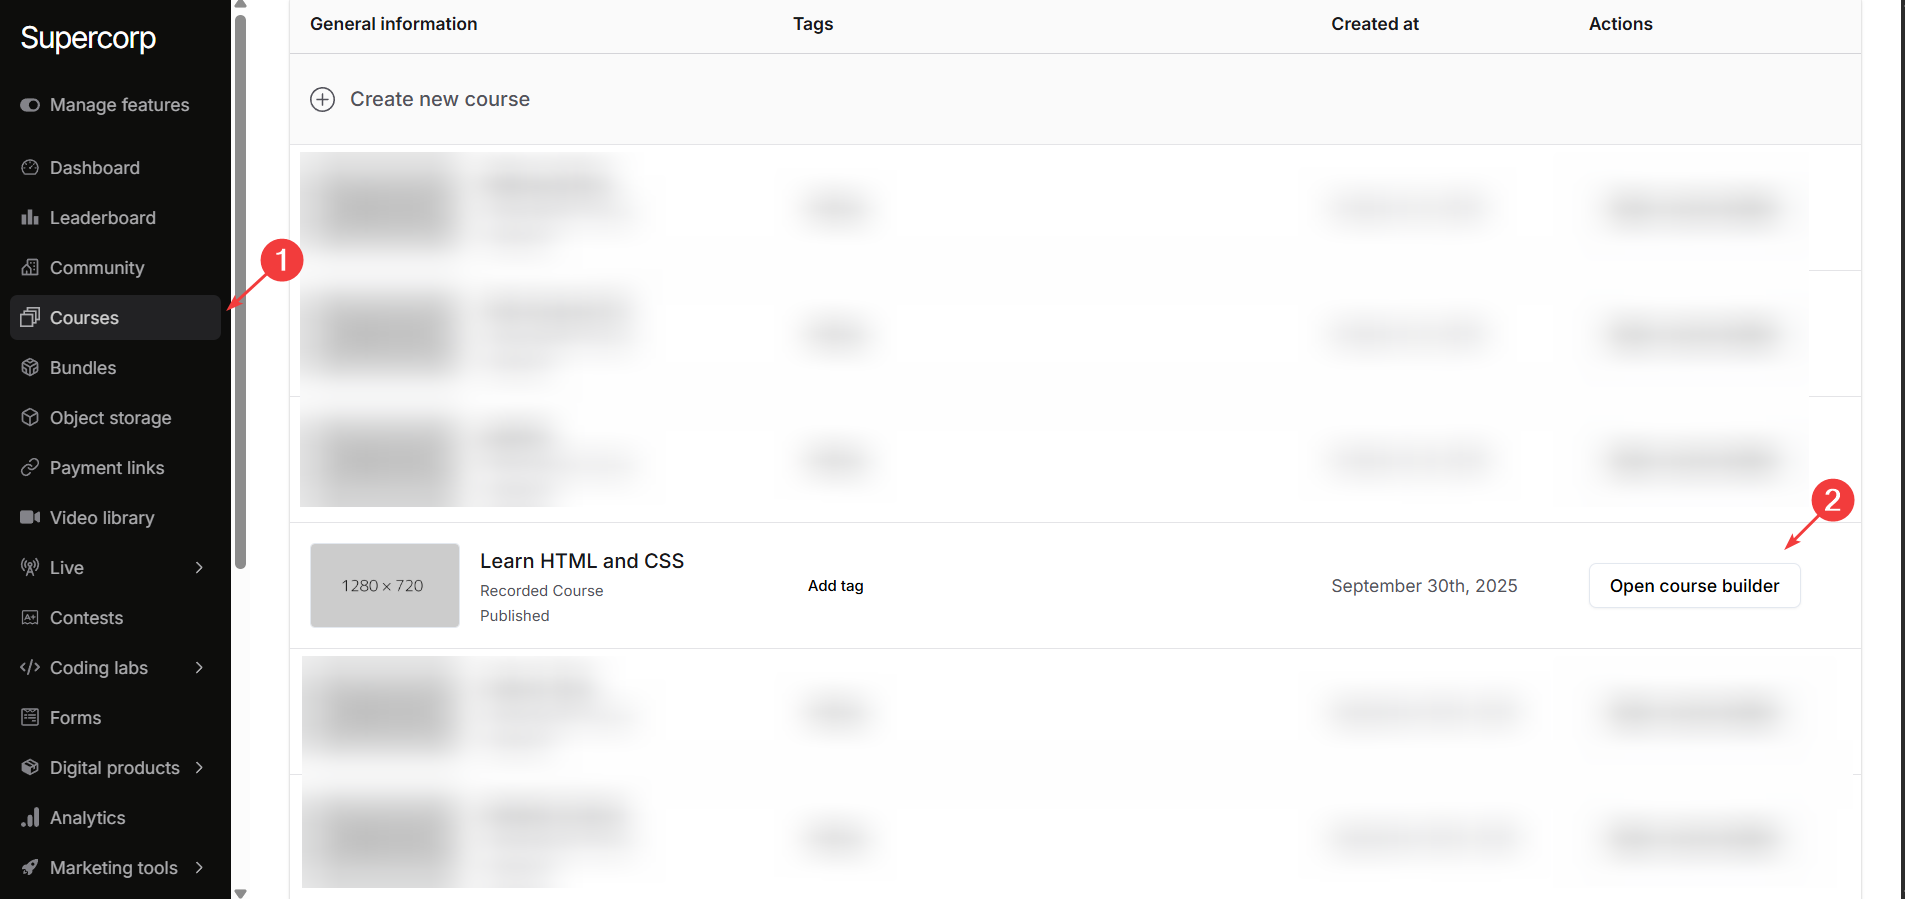
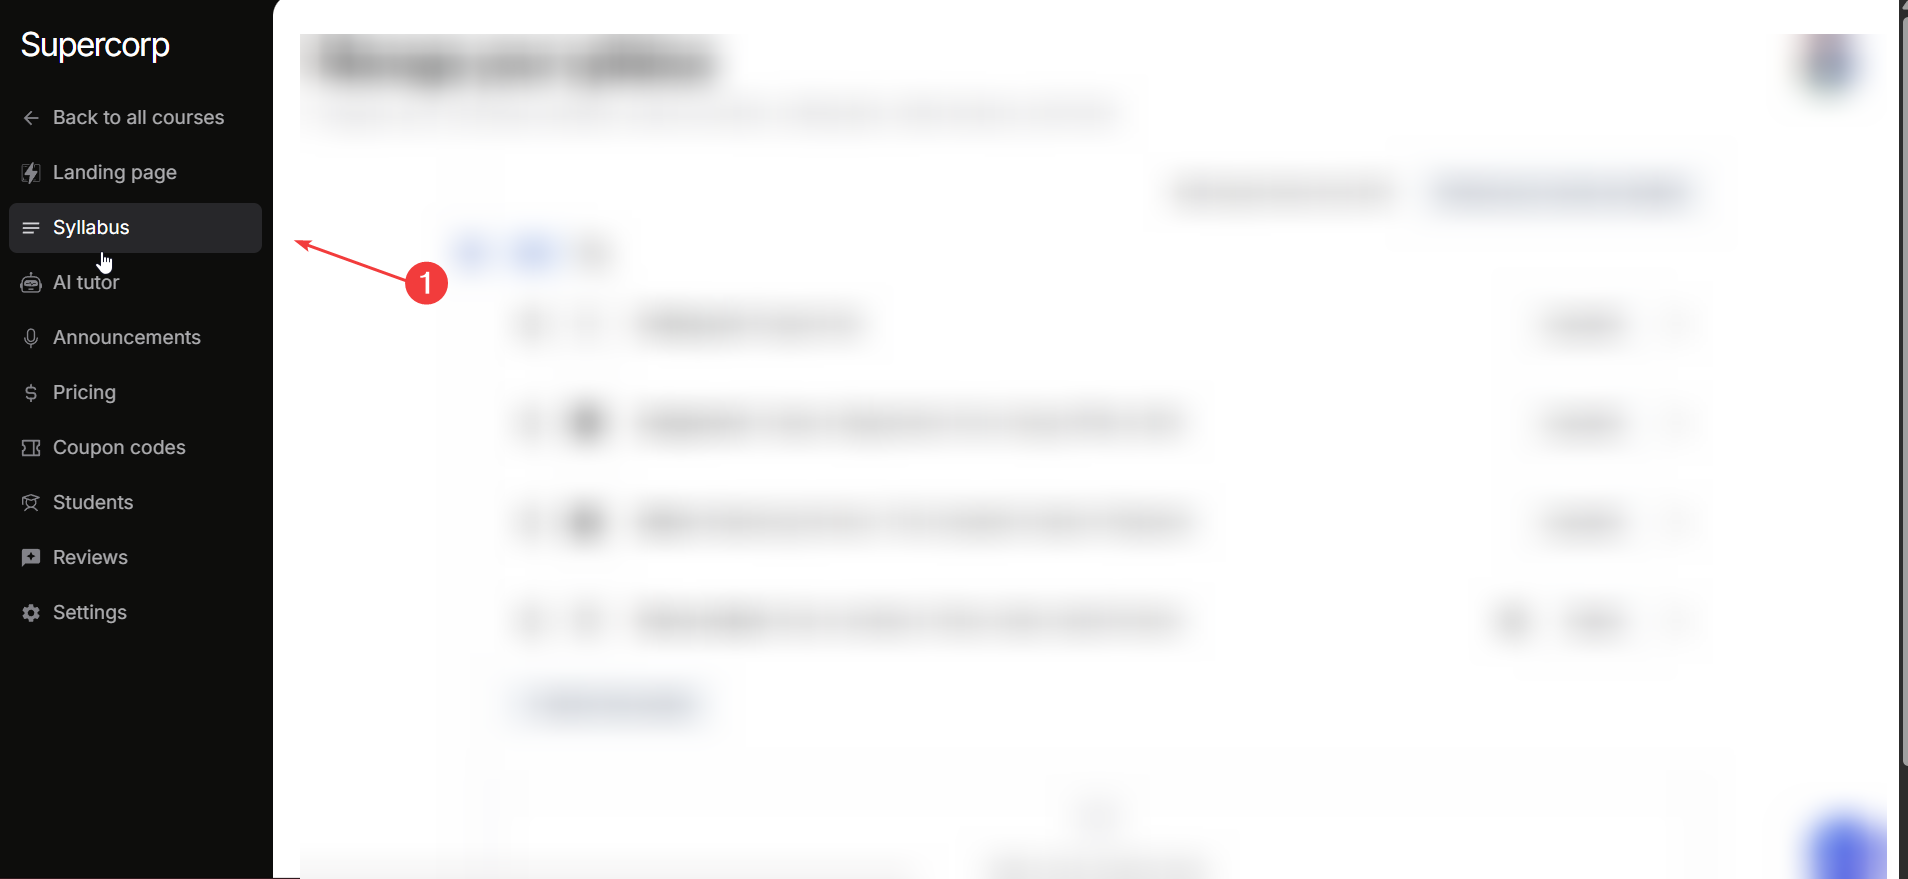
Follow these steps to add or edit tags for any item in your course syllabus.Open the course builder
Head over to the Courses section and open the Product Builder for the course you want to manage.
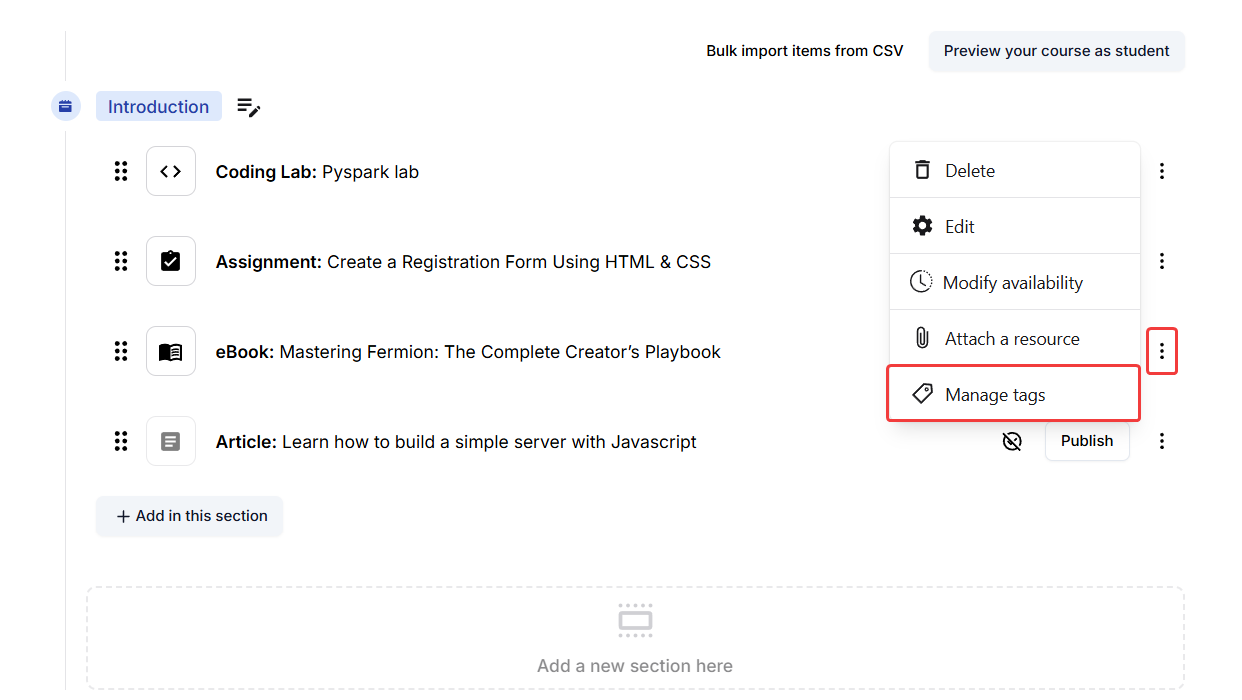
Manage tags for a course item
Click the ⋮ (three vertical dots) next to any course item and select Manage Tags.
Use the manage tags panel
You’ll now see the Manage Tags panel, which lets you: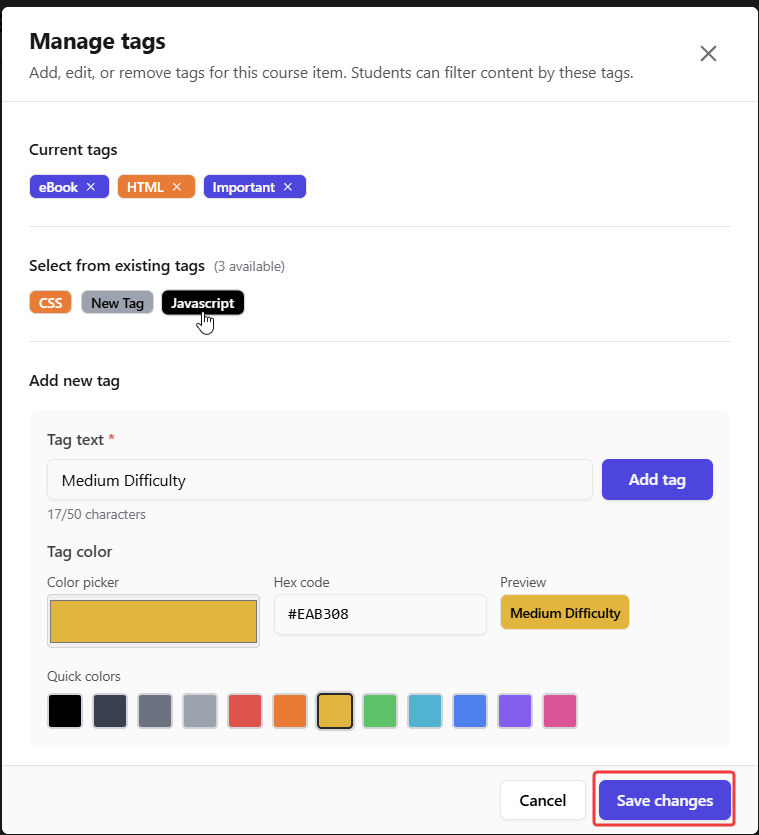
- Add, or remove tags for this specific course item.
- Create new tags and choose a color for each tag using the color picker or enter a custom hex code.
- View a preview of how your tag will appear in the learner’s view.
- You can also select from existing tags you have created before in that particular course. Just click on the previously created tag and it will be attached to your course item.
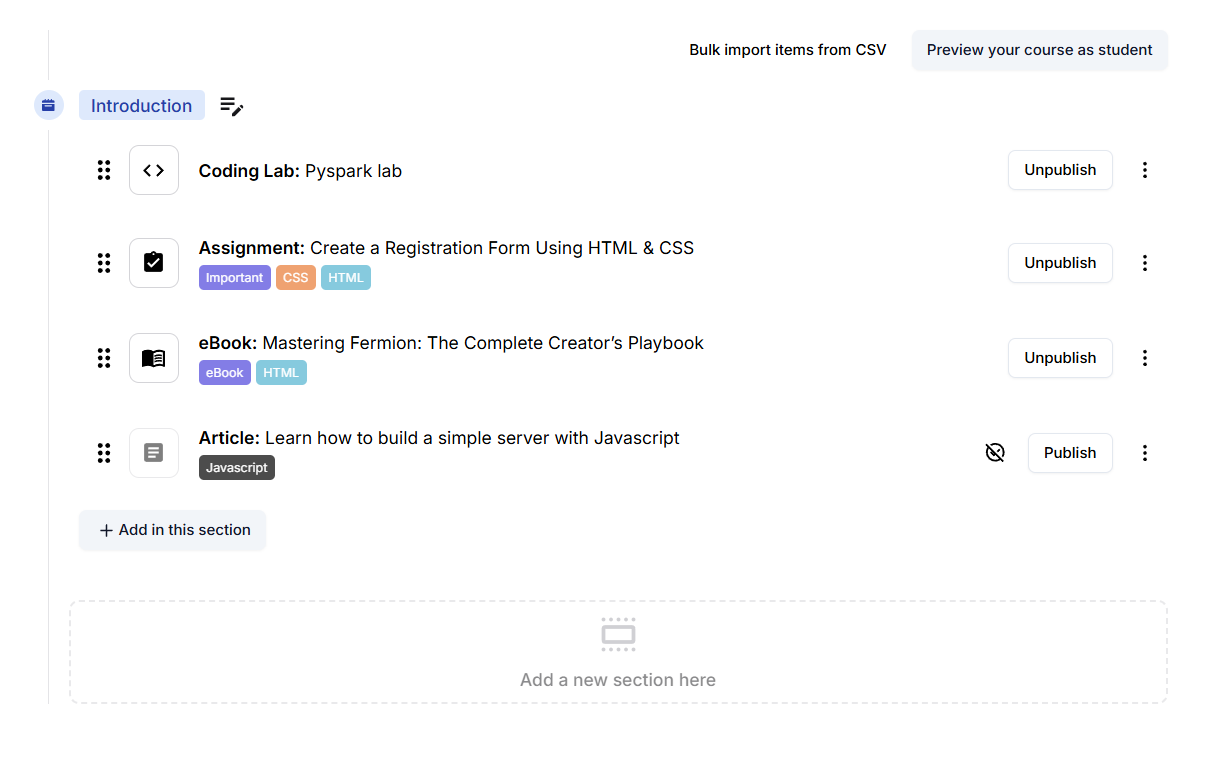
How learners can use tags for course items
From a learner’s perspective, tags make course navigation simpler and more intuitive by allowing students to easily filter by clicking on the tag and discover content based on their learning preferences or current progress.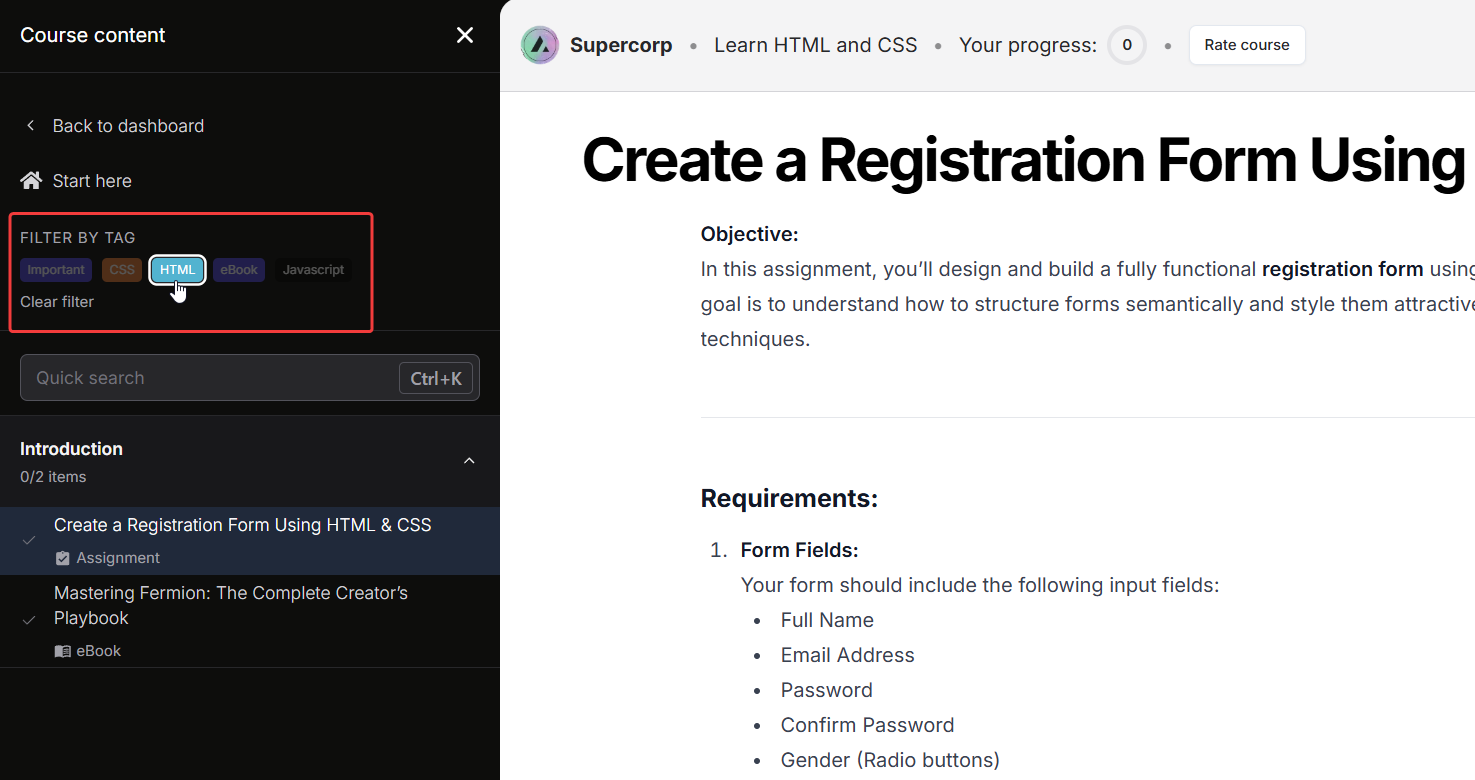 For example, if lessons are categorized by difficulty, learners can start with
 Easy lessons to build a strong foundation and then gradually move on to Medium or Hard tagged lessons as they advance through the course. Similarly, topic-based tags like JavaScript, React, or Backend let learners focus on areas that interest them the most.
By effectively using tags, instructors create a more personalized and accessible learning experience for everyone.