Accessing the analytics funnel builder
Follow these steps to open the Analytics Funnel Builder in your instructor dashboard:1
Ensure analytics funnel builder feature is enabled
Make sure the Analytics Funnel Builder is enabled in the Marketing section of Manage Features. Learn more by referring to the Manage Features documentation.
2
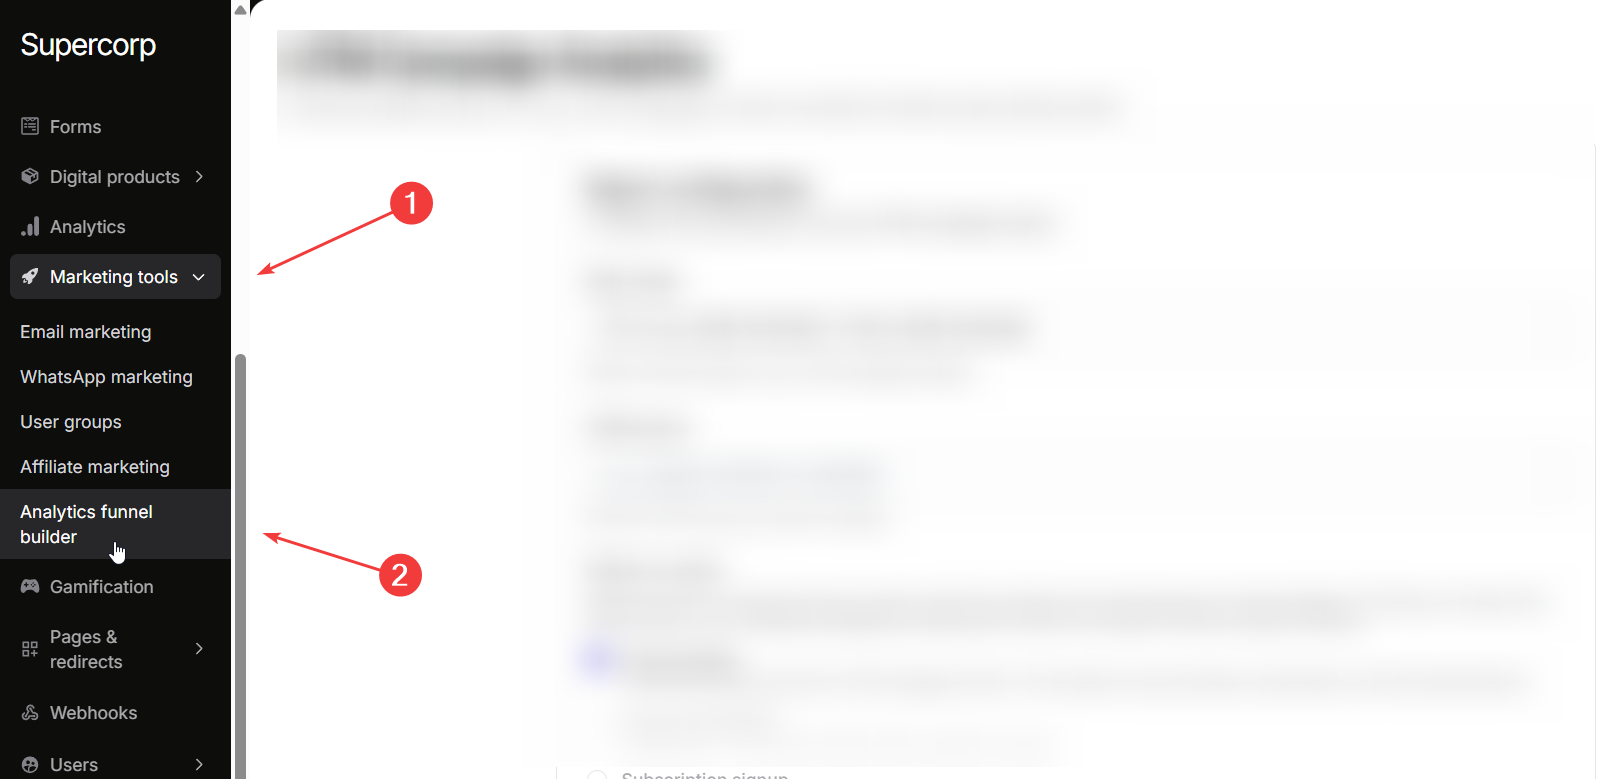
Go to marketing tools
In your instructor dashboard sidebar, click on Marketing Tools.
3
Open Analytics funnel builder
Within Marketing Tools, click on Analytics funnel builder to access your UTM campaign reporting features.
Report configuration
Before generating a UTM campaign report, you need to configure several key parameters.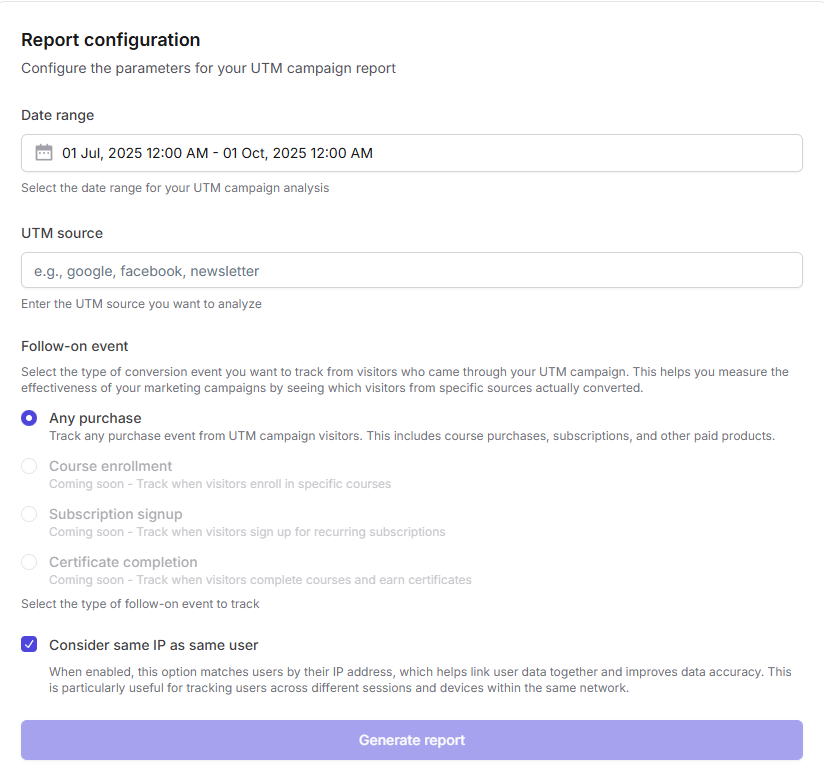 Date range: Choose the period for your analysis. This could be a week, a month, or a custom range, depending on your campaign goals. Setting the correct date range ensures your report focuses on the timeframe relevant to your campaign performance.
UTM source: Enter the UTM source you want to analyze, such as
Date range: Choose the period for your analysis. This could be a week, a month, or a custom range, depending on your campaign goals. Setting the correct date range ensures your report focuses on the timeframe relevant to your campaign performance.
UTM source: Enter the UTM source you want to analyze, such as google, facebook, or newsletter. This allows you to segment traffic by source and understand which platforms are driving the most conversions.
Follow-on event: Select the type of conversion event you want to track for users coming from your UTM campaign. This measures the effectiveness of your marketing efforts by showing which visitors actually converted. Available follow-on events include:
- Any purchase: Tracks all purchase events, including course purchases, and other digital product sales.
Generating your report
Once your parameters are configured, review your selections for date range, UTM source, follow-on event, and IP matching. Click Generate report to produce detailed analytics showing conversion funnels, purchase events, and key metrics from your UTM campaigns.Suppose you ran a Facebook ad campaign promoting a new course. By selecting a 30-day date range,
facebook as the UTM source, and Any Purchase as the follow-on event while enabling IP matching, you can track exactly how many visitors from Facebook ended up purchasing. This allows you to evaluate ROI and optimize future campaigns.