If you have not enabled Webhooks, please go to Manage features > Scroll to Development > Webhook and enable that first from your instructor dashboard
Setting Up a Webhook
-
Go to Webhooks Settings
Open the Webhooks page in your Fermion dashboard. -
Create a Webhook
Click Add a new webhook to create a new webhook template. -
Add Your Webhook URL
Enter your server endpoint URL that will handle incoming webhook events and payload. -
Set a Webhook Secret
Ensure the integrity of your webhook events by setting a secret. This secret will be sent in every webhook event in a header namedX-Fermion-Webhook-Secret. Your server must validate all incoming requests and check if this header is present with the correct value.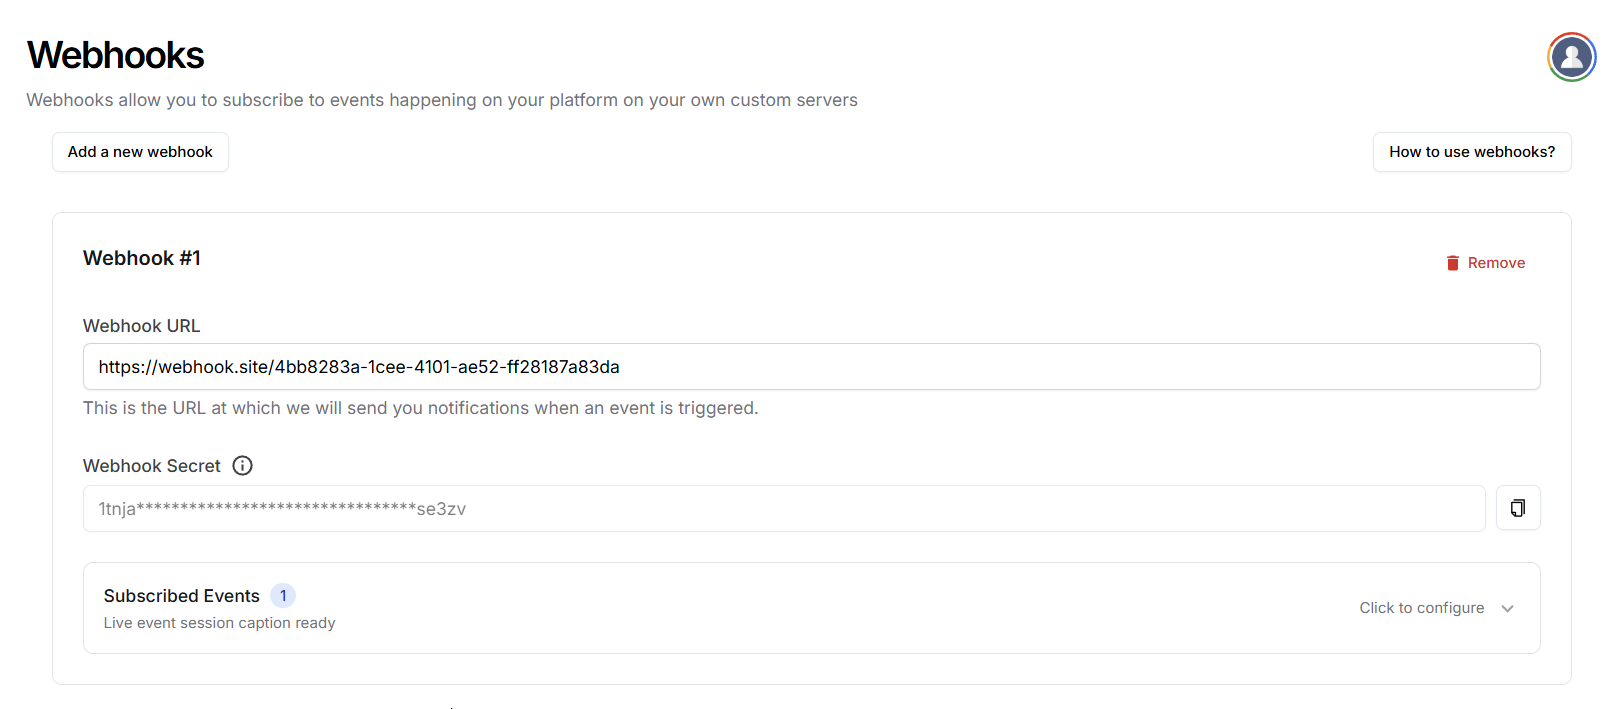
- Subscribe to Events
Choose the events you want this webhook to listen to. More information on events is provided in next sections.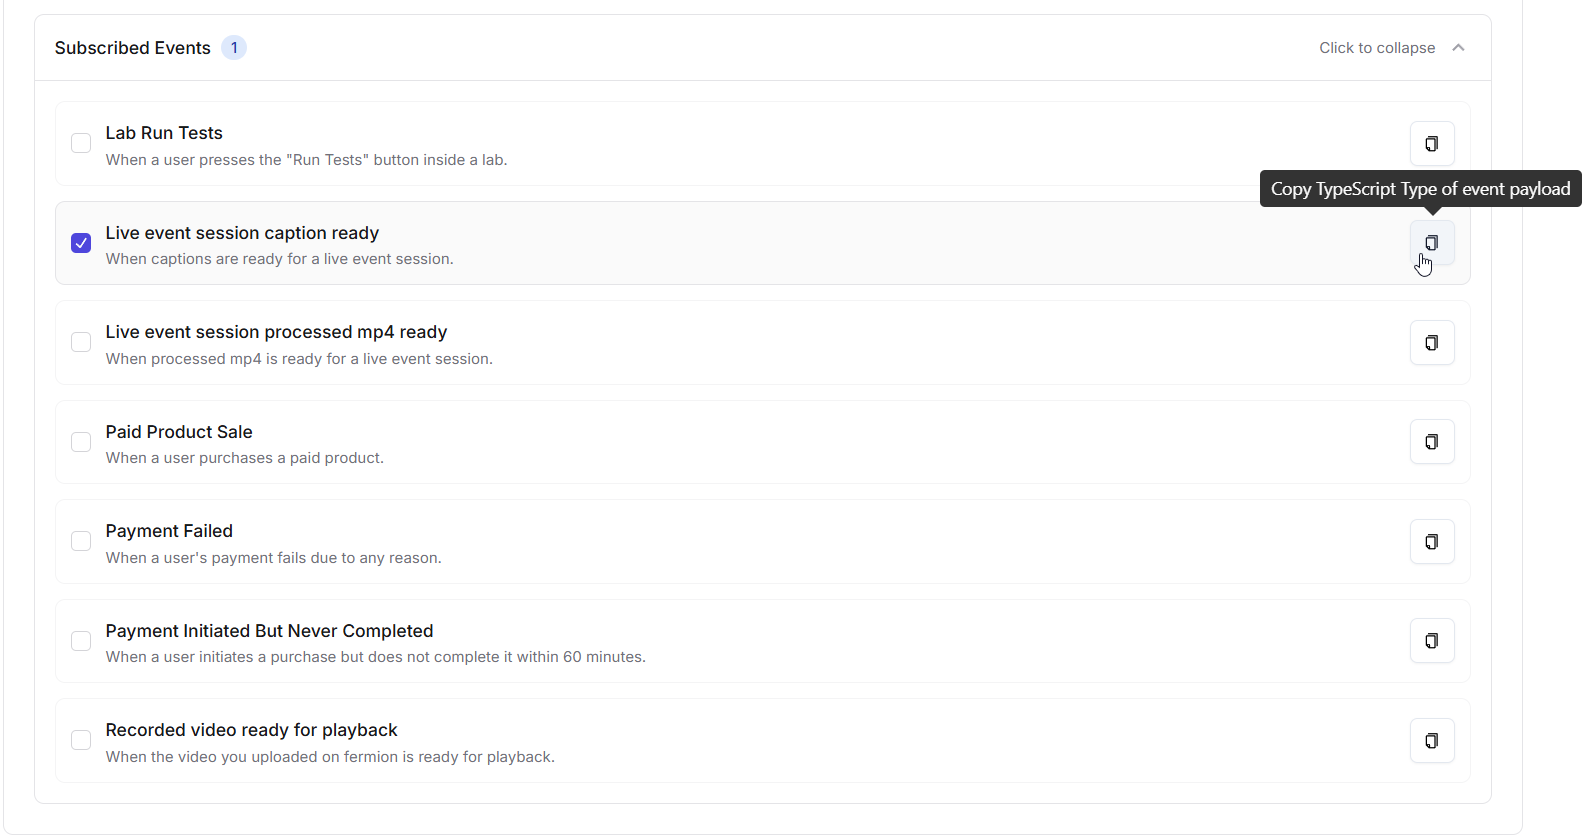
- Save Configuration
Click on Save Configuration to update your webhook settings.
Multiple Webhooks & Event Subscriptions
You can create multiple webhooks, each subscribed to different events.This lets you send specific notifications to the right system. Examples:
- Webhook 1 → Lab events → Sends data to an analytics system.
- Webhook 2 → Payment events → Sends data to accounting software.
- Webhook 3 → Captions → Sends caption data to your DB.
Example Webhook Configuration
| Webhook | Subscribed Events | Purpose |
|---|---|---|
| Webhook 1 | Lab Run Tests | Send lab results to an analytics system. |
| Webhook 2 | Paid Product Sale, Payment Failed | Update accounting software with sales data. |
| Webhook 3 | Live Event Session Caption Ready | Automatically process captions for integration. |