The custom payment links feature must be enabled first for your school. To learn how to activate it, refer Manage Features.
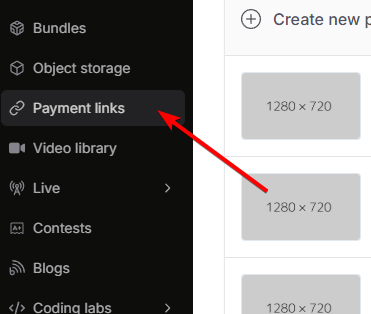
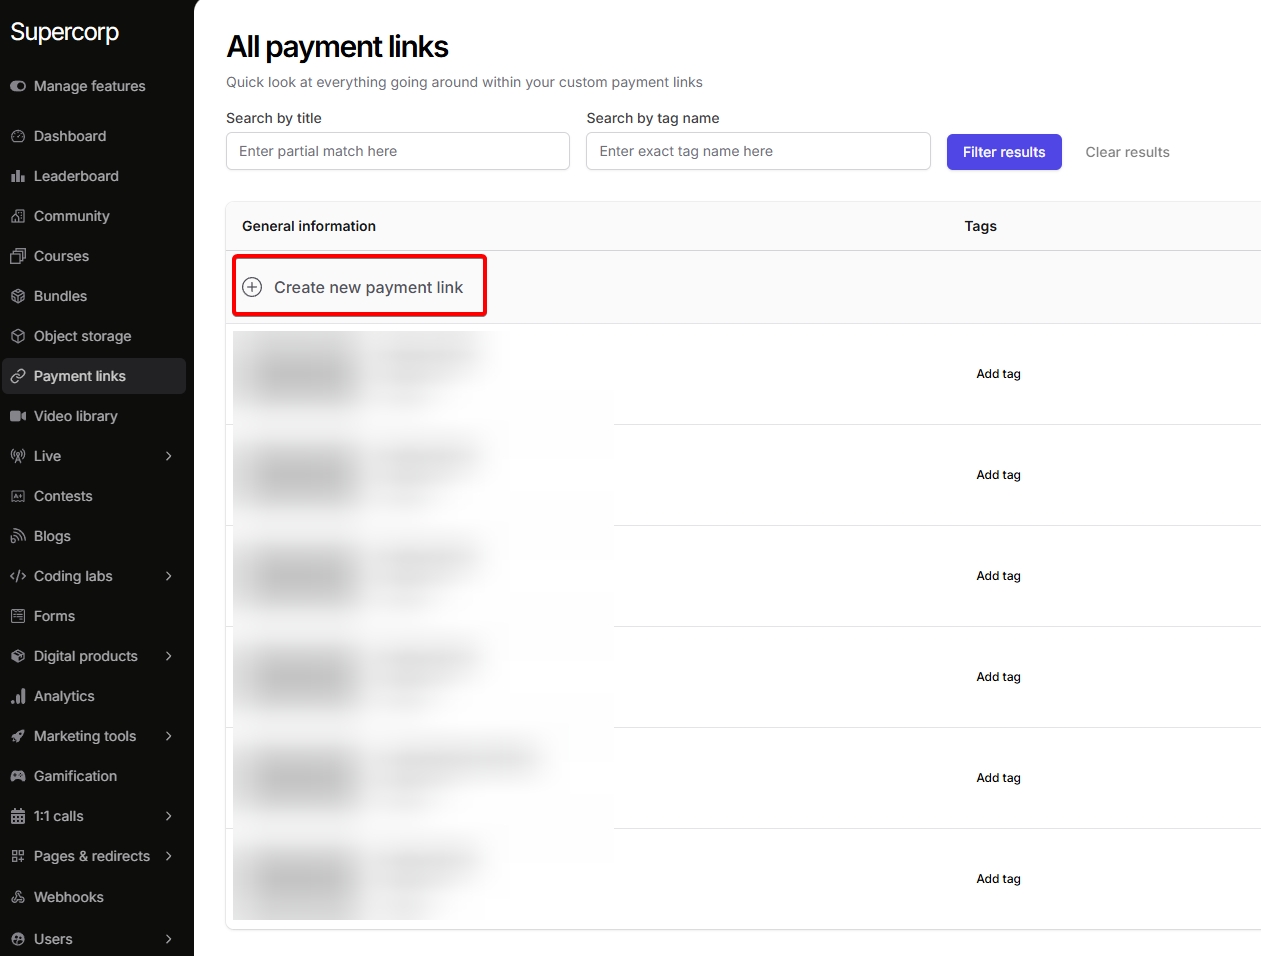
How to Create a Custom Payment Link
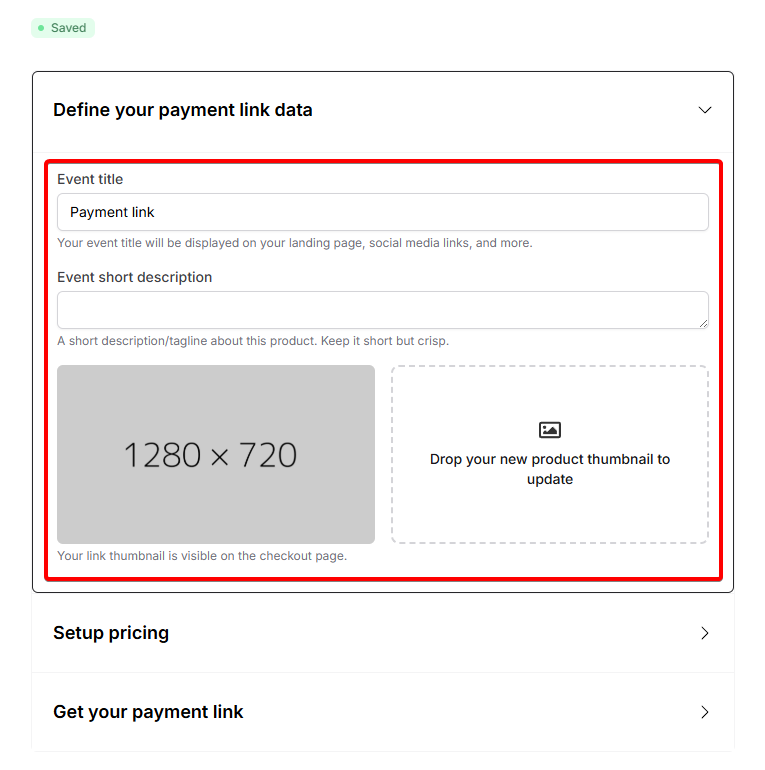
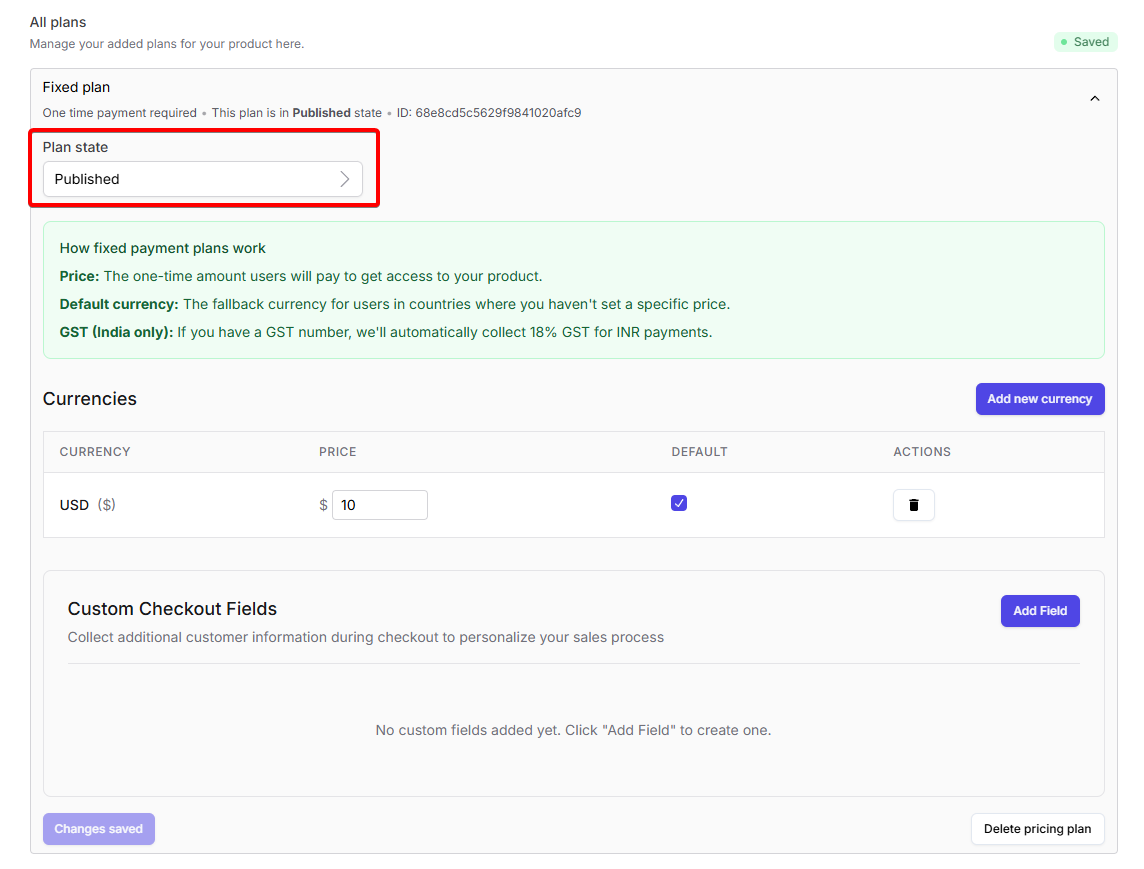
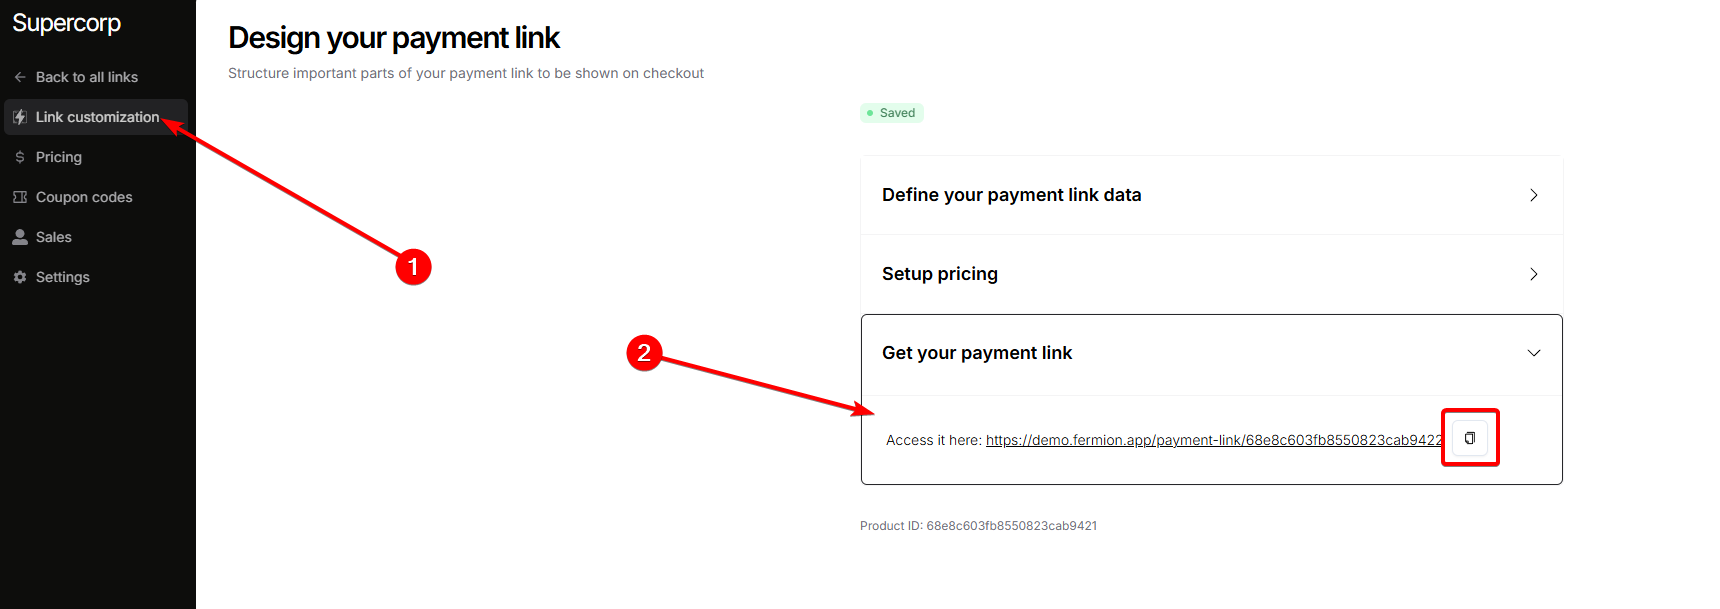
Fill in the details
- From here, you can fill in :
- Name for the payment link.
- Add description and a thumbnail.
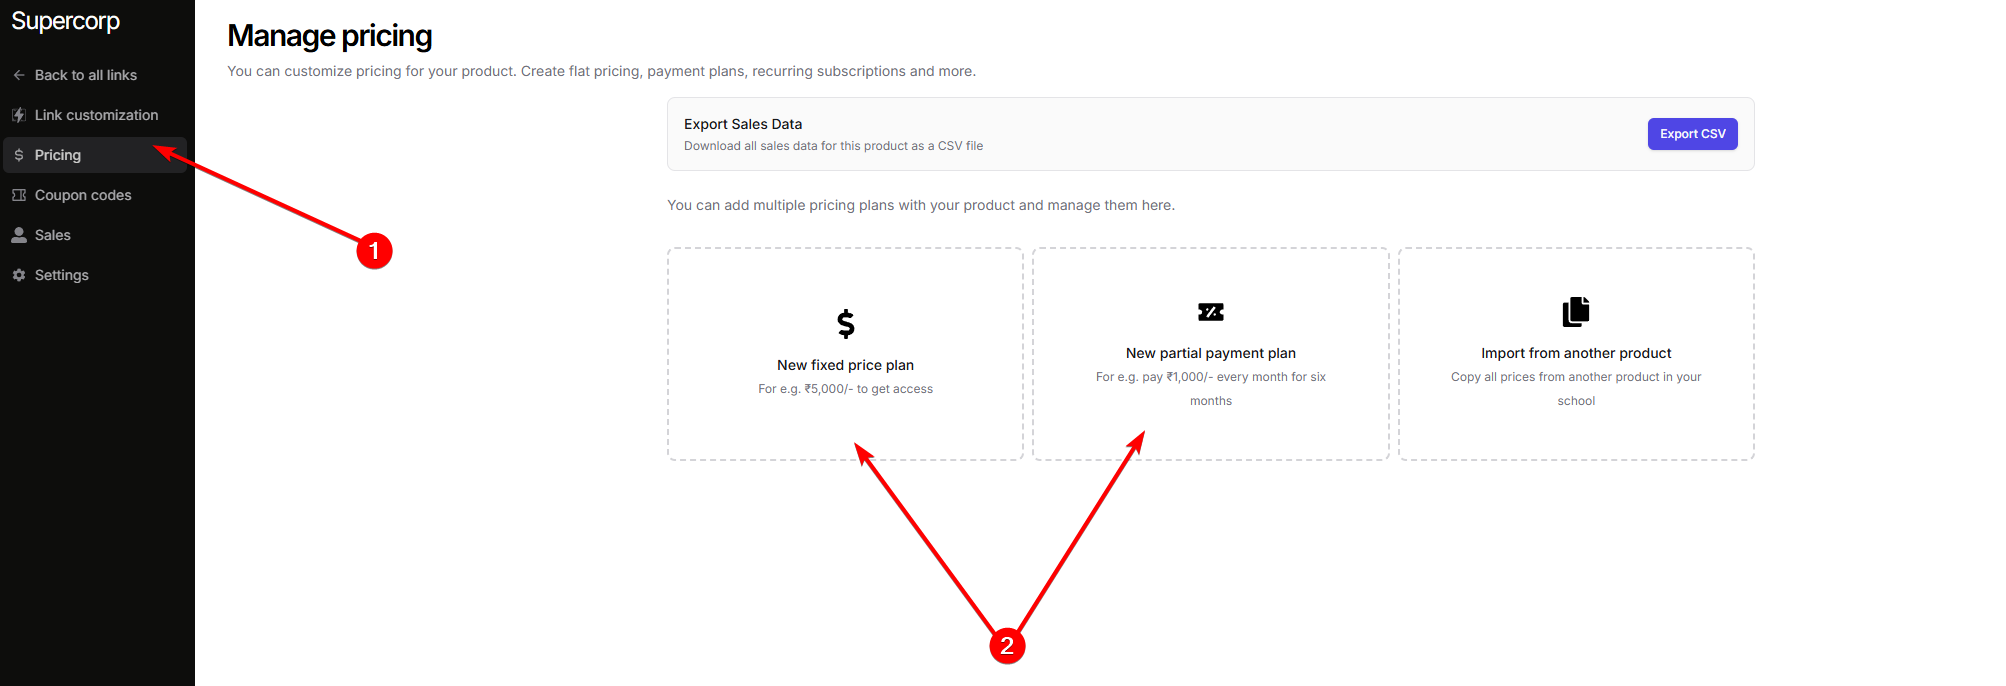
Sales data for custom payment links
After creating a custom payment link, you can track all sales made through that link in the same link settings. Click on the sales button in the sidebar to get more information This section lists all transactions associated with the link, including the name and the sales date. You can also export the sales data as a CSV file for reporting, bookkeeping, or compliance purposes.Coupon codes
Coupon codes work the same across the platform for all products, including custom payment links. You can combine custom payment links with coupon codes to give learners additional discounts. To learn more about creating, managing, and applying coupon codes, head over to the coupon codes documentation.When should you use custom payment links?
- Providing a bespoke discount to a user by request
- Arranging payment for a bundle or product not directly listed on your site
- Solving for any manual or special arrangement outside your usual checkout flow