Why do we need whiteboard?
Visual explanations often communicate ideas more effectively than text or speech alone. By combining the power of drawing, writing, and pointing, instructors can create an immersive learning environment that promotes clarity and real-time understanding. This makes it an essential tool for instructors who prefer to demonstrate thought processes and encourage participation.The whiteboard is accessible to instructors and promoted hosts, allowing them to draw, annotate, and collaborate during live sessions. Regular participants can use laser pointers to highlight or direct attention to specific areas of the board.
Accessing the whiteboard
You can access the whiteboard directly from your live session interface. Once inside a session, it takes only a few clicks to begin sketching and collaborating visually.1
Join a live session
Enter your scheduled live class from the dashboard as an instructor. Learn more about how to
set up a live class.
2
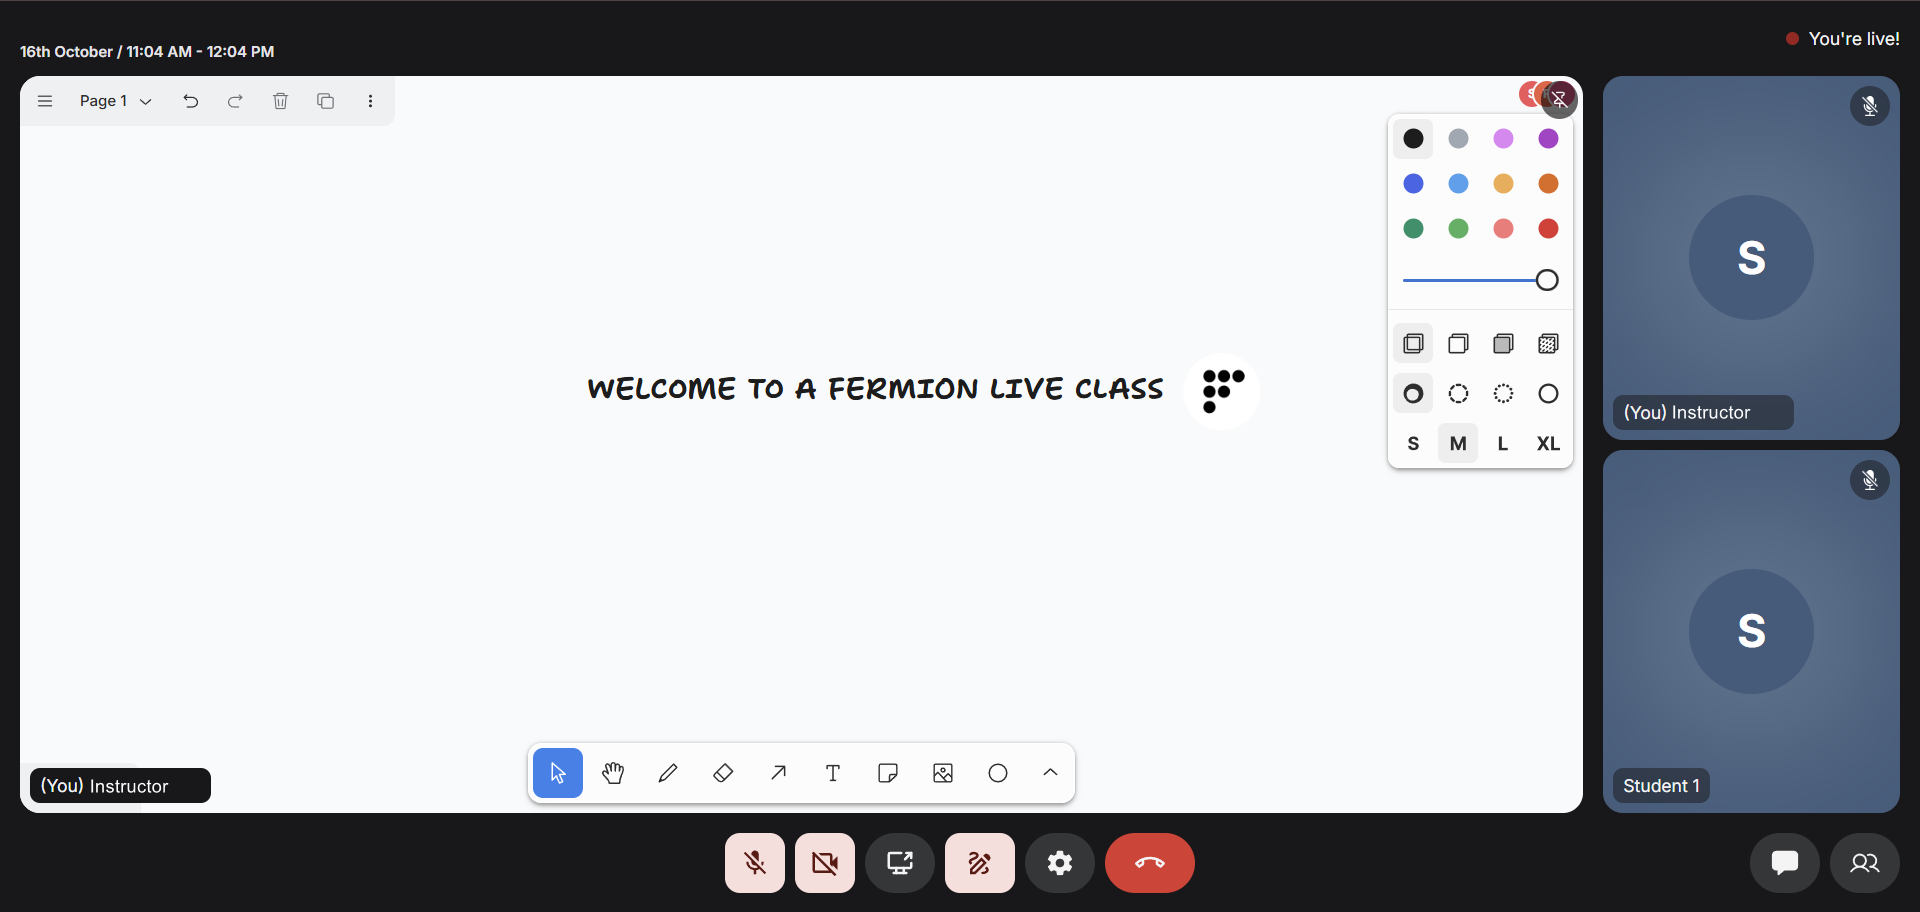
Open the whiteboard
Inside the livestream interface, click on the Whiteboard toggle located on the toolbar,
right next to the screenshare button.
3
Start drawing
Once enabled, you’ll see the canvas appear on your screen. Use the tools on the side panel to
draw, add text, images, or highlight content in real time.
4
Student interaction
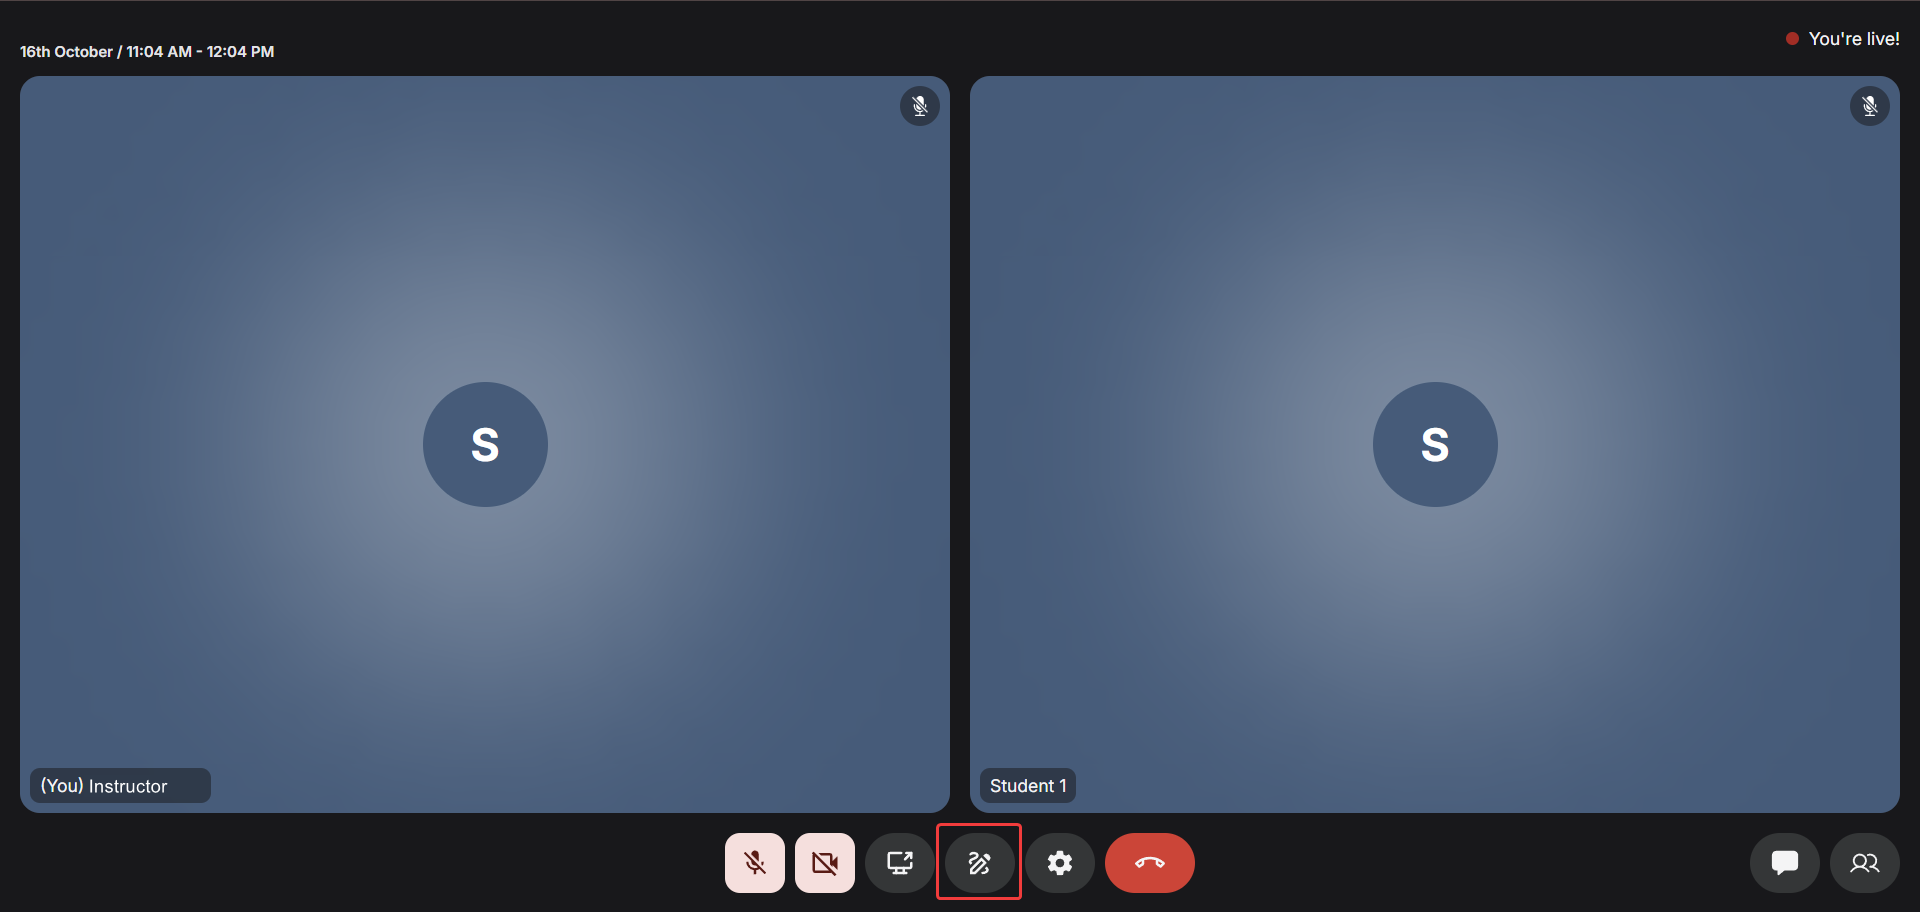
Students can follow your whiteboard in real time and use their laser pointers to draw attention
to specific areas. However, they cannot modify or erase the content on the instructor’s board.
Features
The whiteboard offers a powerful and fluid real-time drawing experience, purpose-built for teaching, visual explanation, and team collaboration. Every stroke, object, and annotation is synchronized instantly across all participants, ensuring that both instructors and learners stay perfectly in sync.Infinite canvas
The whiteboard provides an infinite canvas, allowing instructors to think and teach without boundaries. You can scroll, pan, and zoom effortlessly to create multiple segments of your explanation within a single continuous space. This is especially helpful when breaking down large problems, such as multi-step algorithms or design diagrams.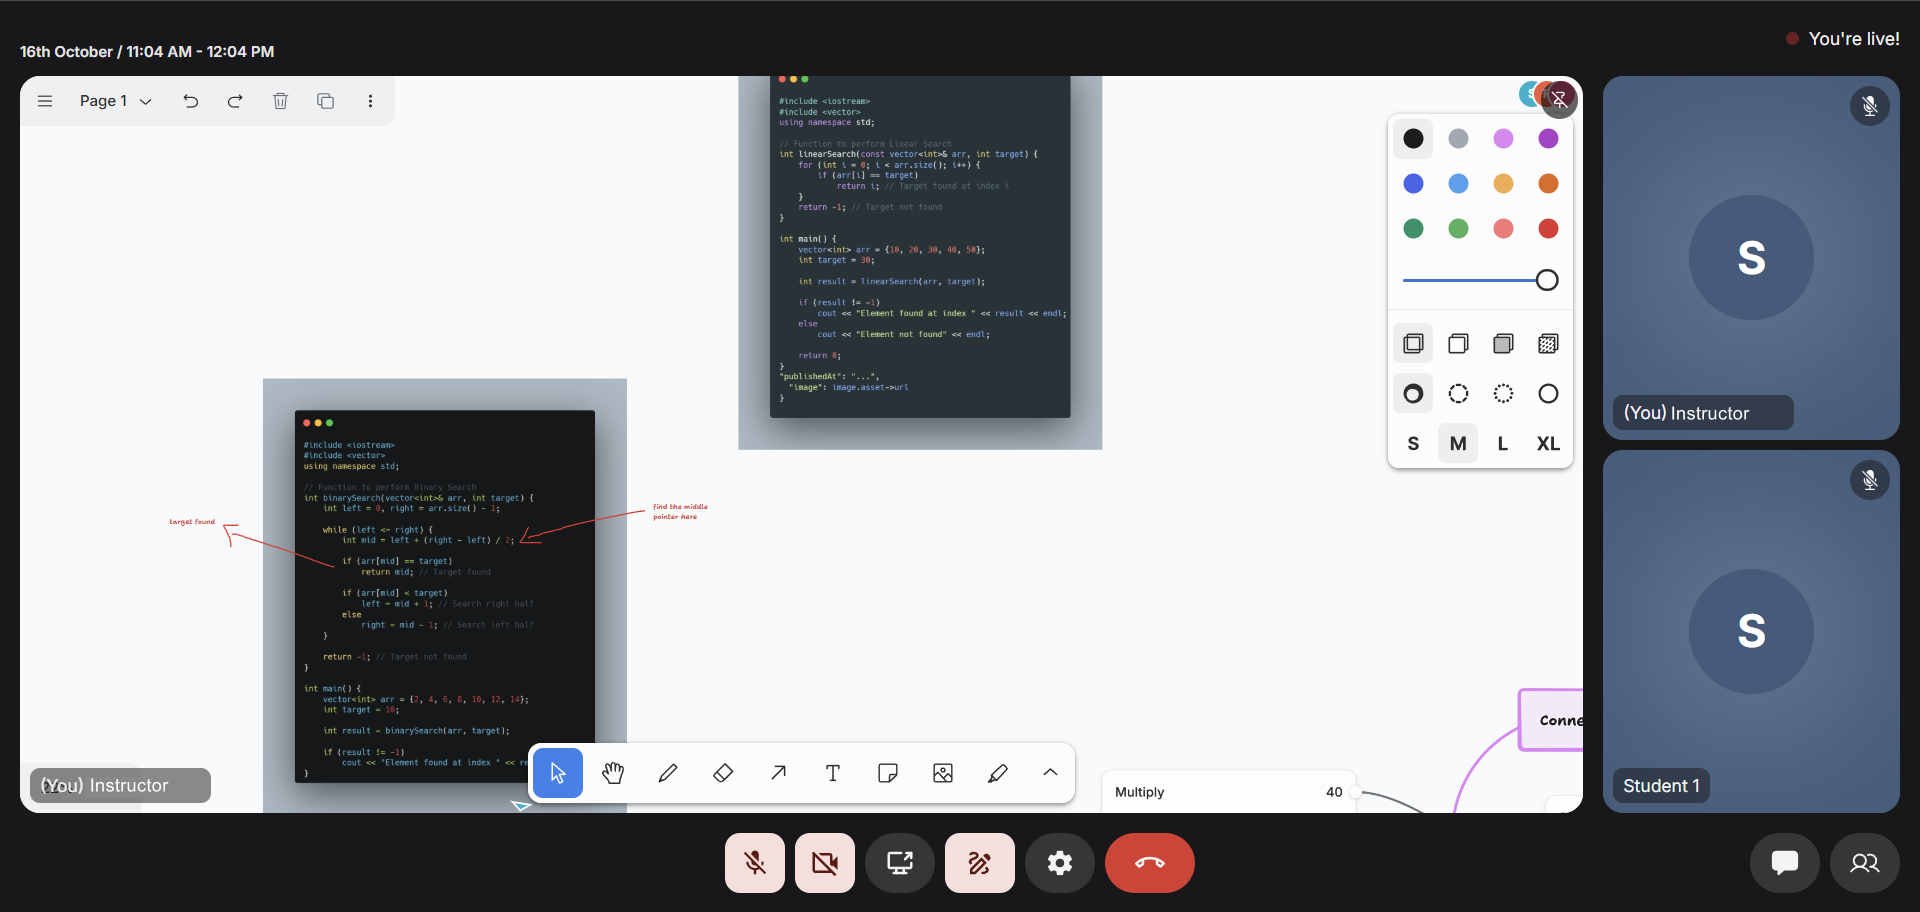
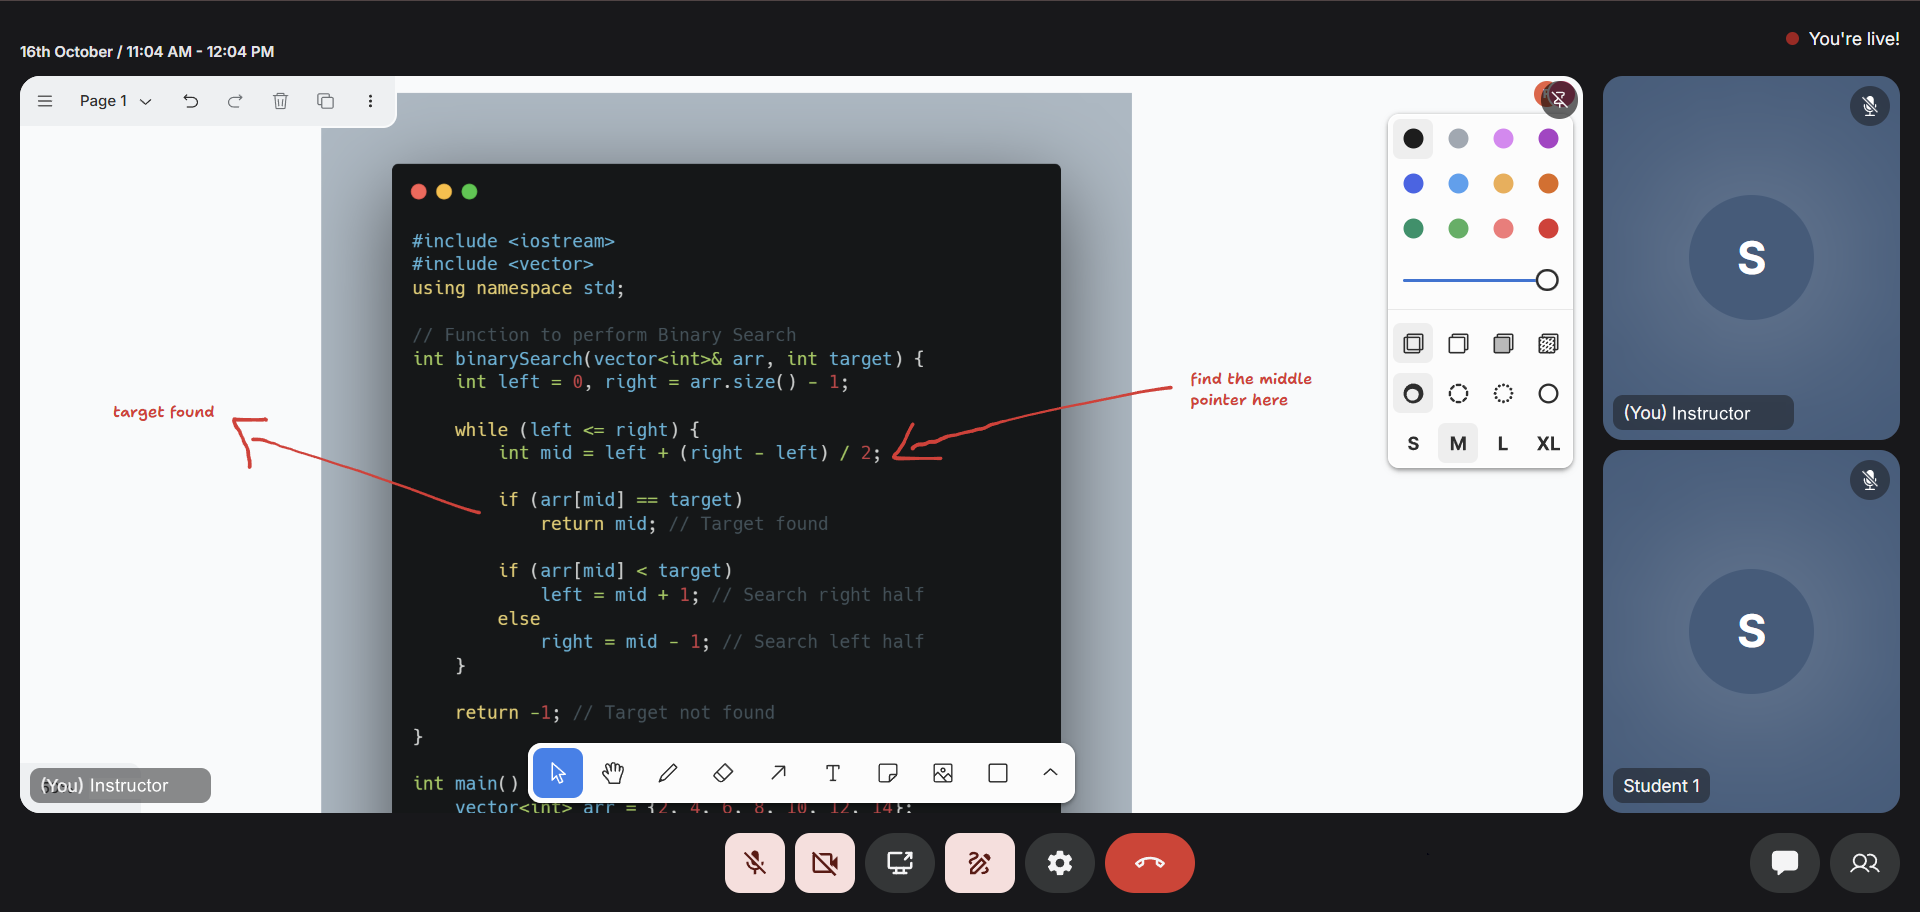
Drawing tools and shapes
The drawing toolkit offers an intuitive experience for freehand sketches and structured shapes. You can draw using pen tools, create rectangles, circles, arrows, and even straight lines to depict flowcharts, system architectures, or visual examples. Each element drawn can be resized and repositioned, providing full creative freedom while maintaining precision. The pen input is optimized for fluid motion and minimal latency, so it feels as natural as writing on a real whiteboard.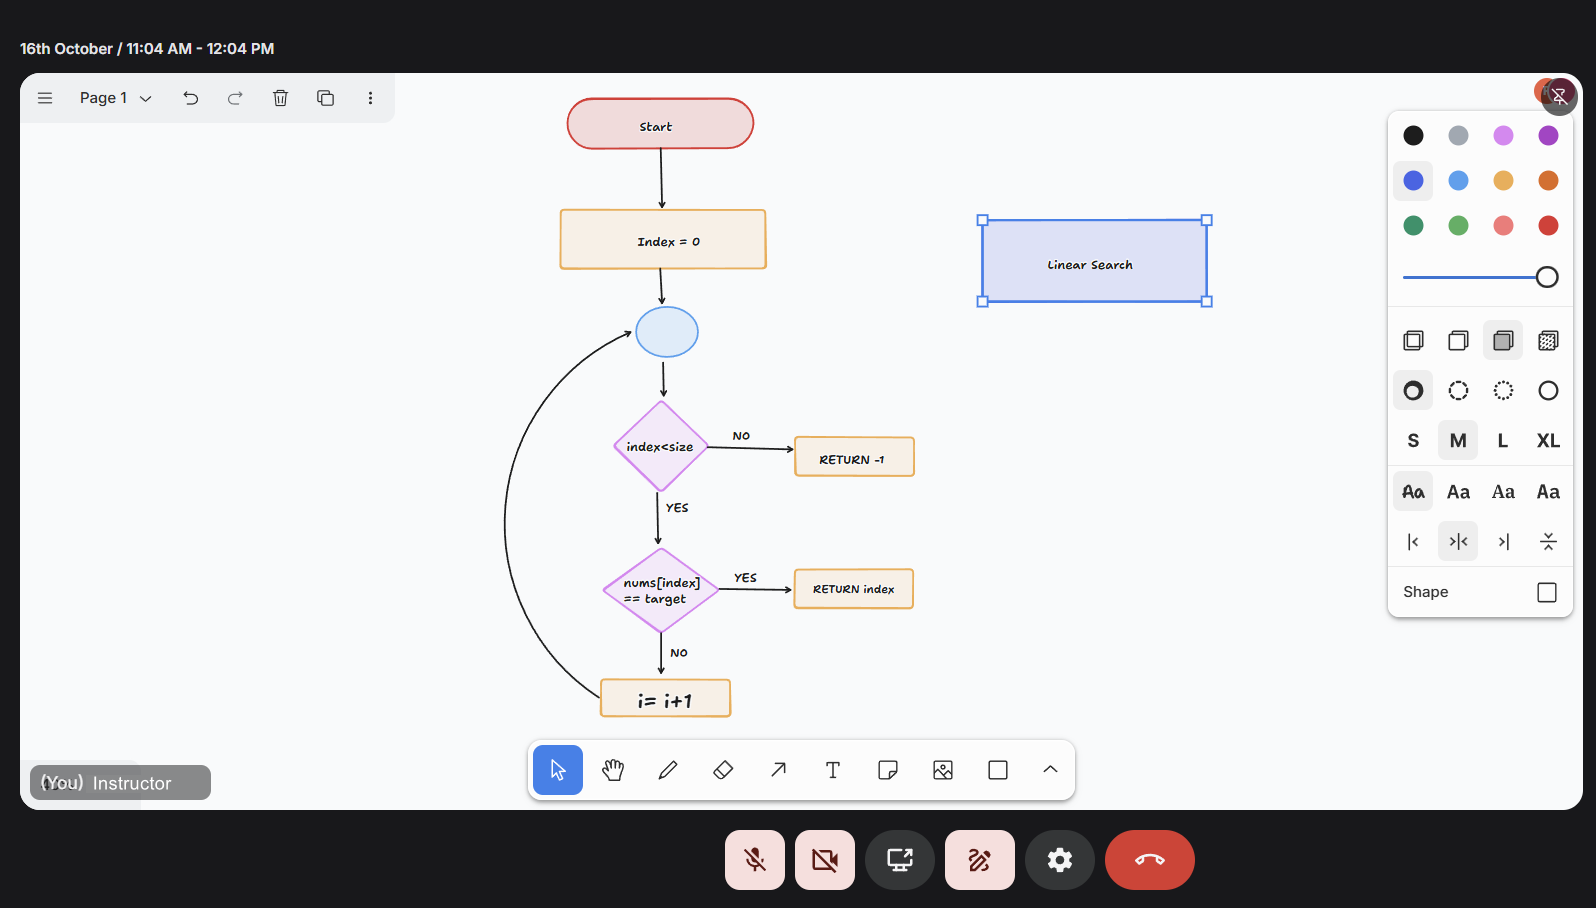
Text and annotations
In addition to drawing, you can insert text boxes anywhere on the canvas. This allows instructors to label diagrams, write notes, or define key terms without cluttering the visual explanation. Text elements can be styled with varying sizes and colors, making it easy to differentiate headings, definitions, and supporting notes.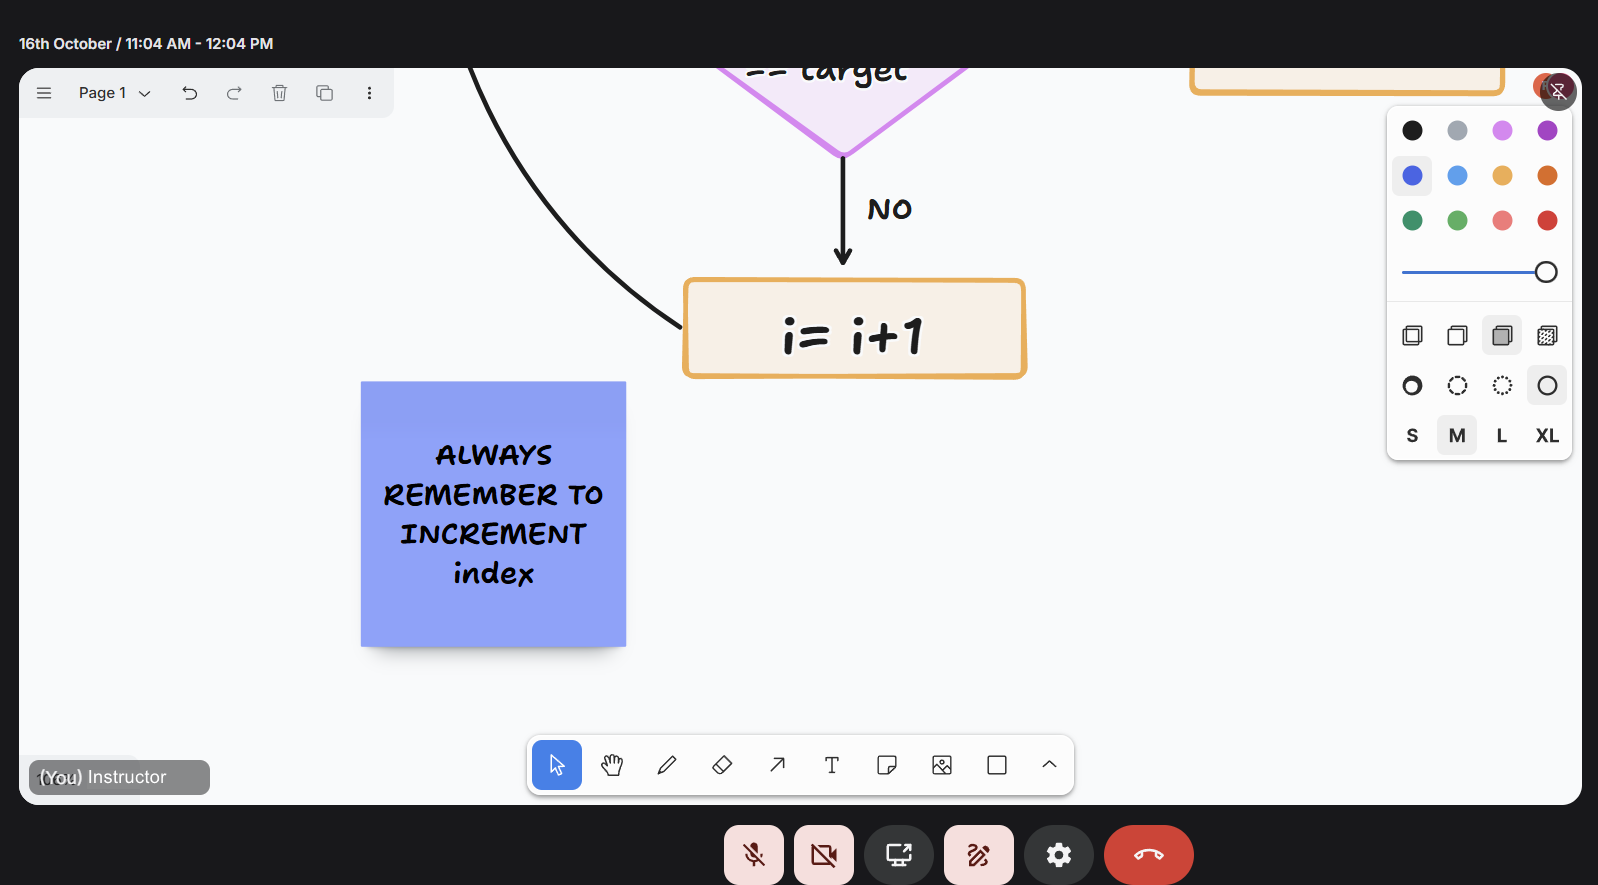 Annotations appear instantly across all participant screens, enabling everyone to follow the instructor’s reasoning in real time.
Color and styling controls
To enhance visual clarity, the whiteboard includes a color palette and styling controls. You can switch between pen colors, adjust line thickness, and change fill properties for shapes. This flexibility helps highlight important sections, differentiate between concepts, and make diagrams more visually coherent.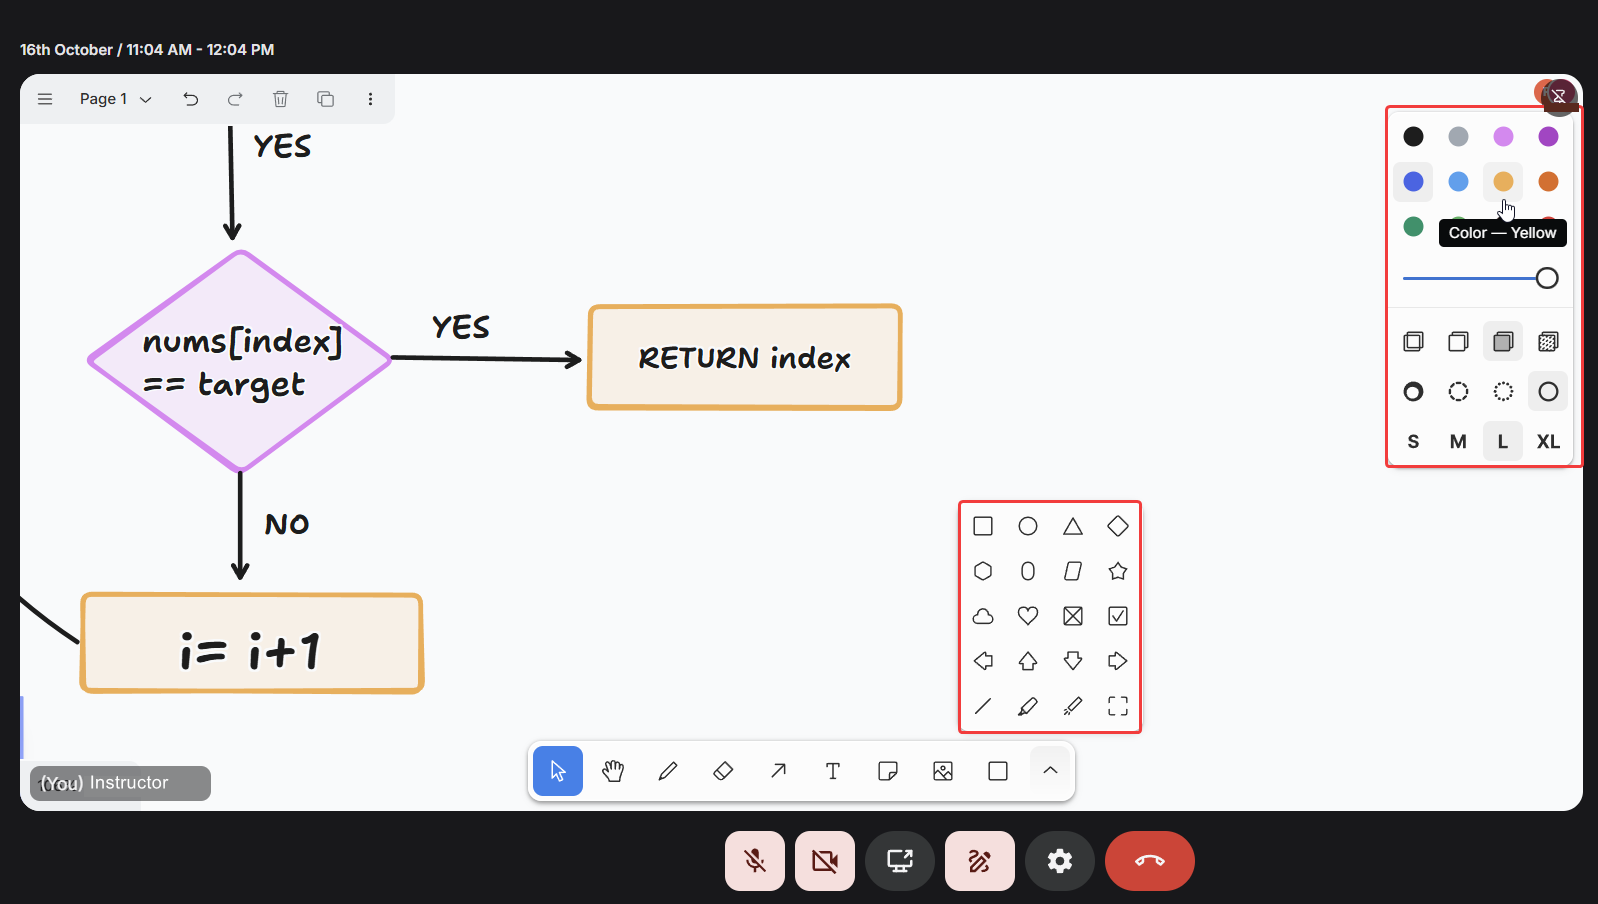 Using multiple colors not only improves engagement but also reinforces visual learning by emphasizing relationships between different ideas.
Upload images onto whiteboard
Instructors can upload images directly onto the whiteboard, making it easier to build lessons around pre-existing visual materials. You can import diagrams, screenshots, infographics, or reference materials and annotate them live to enhance understanding.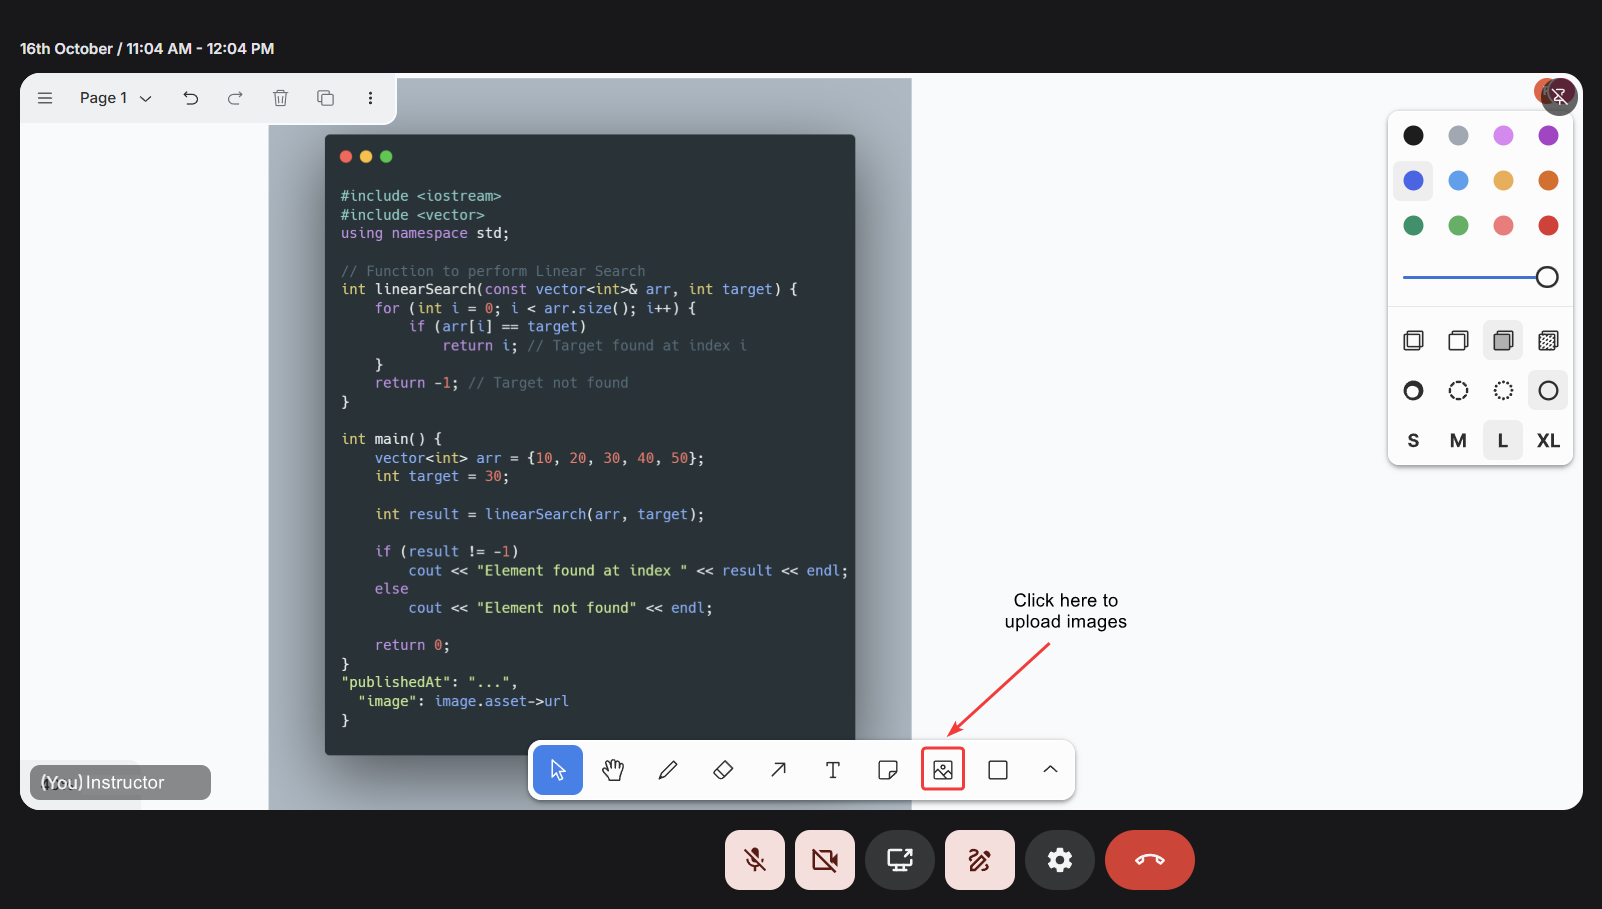 Uploading an image is as simple as selecting the image icon from the toolbar and choosing a file from your device. Once placed on the canvas, you can resize or reposition the image freely. This flexibility allows you to blend pre-prepared visuals with spontaneous drawings and notes.
Real-time collaboration
Every interaction on the whiteboard: drawing, typing, or moving an object, is synchronized live. This real-time sync ensures that students see the instructor’s content evolve instantly, stroke by stroke, with zero noticeable delay.Students can’t draw on the instructor’s board but can use laser pointers to guide attention
toward specific areas, ask questions, or highlight doubts without disrupting the flow of
teaching.
Undo, redo, and erase
Mistakes are part of the creative process, and the whiteboard makes correcting them simple. The undo [CTRL/CMD + Z] and redo [CTRL/CMD + Shift + Z] actions allow you to step backward or forward through your edits. The eraser tool provides precise control for removing unwanted strokes or shapes without affecting theUsing whiteboard on small screen devices
Fermion’s whiteboard is fully optimized for mobile and tablet devices, providing the same powerful functionality as the desktop version. Instructors and promoted hosts can draw, add text, insert images, and use shapes directly on the canvas using touch gestures or a stylus. The interface is responsive and adapts seamlessly to different screen sizes, ensuring an intuitive and smooth experience. All features work identically on mobile, with every stroke and update synchronized instantly for all participants. This makes it easy to teach or demonstrate concepts from anywhere while keeping students fully engaged, even on smaller screens.Next steps
Transcripts & Auto-Recordings
Capture every moment of your live session automatically. Generate AI-powered transcripts and
session recordings for learners to revisit anytime.
DRM and Video Watermarking
Protect your content with secure DRM and dynamic watermarking. Keep your intellectual property
safe while sharing videos confidently.