Audio Settings
Use the Audio tab to manage your microphone and speaker sources.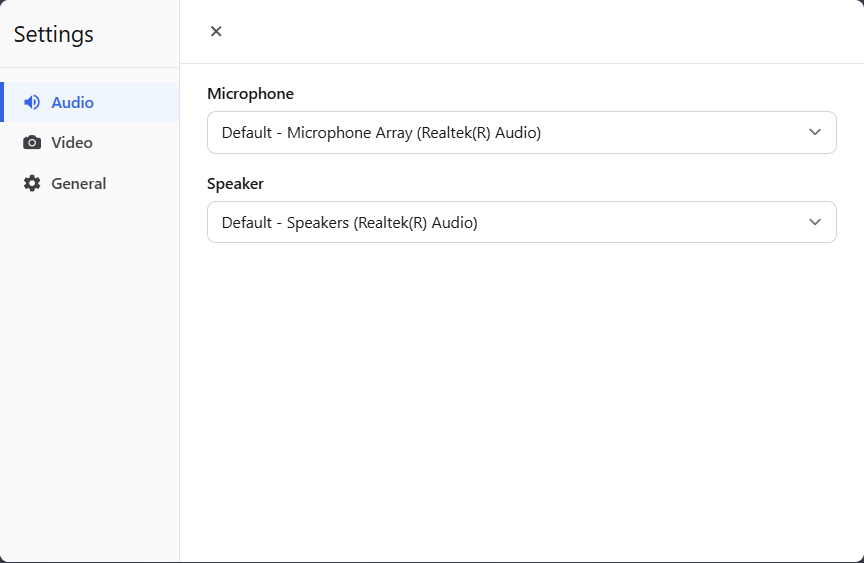 You can:
- Select your preferred microphone input for clear sound.
- Choose a speaker output for sound output of the livestream.
- Adjust input/output devices at any time during the livestream.
Video Settings
Use the Video tab to manage your camera configuration.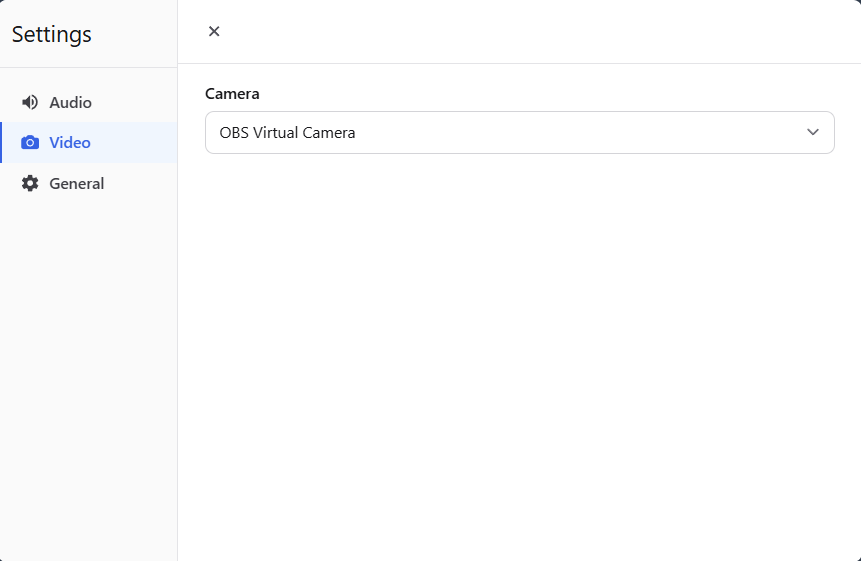 You can:
- Select a camera source connected to your device.
- Switch between available cameras while live.
General Settings
The General tab lets you manage participant permissions and engagement settings.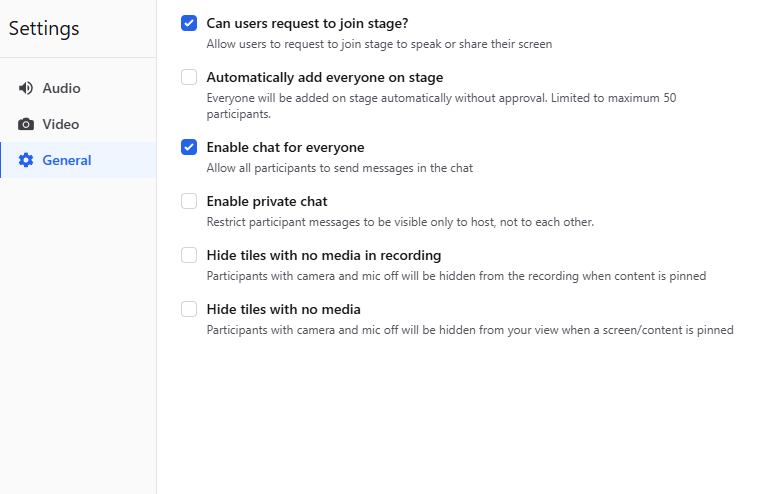 Available options are:
- Can users request to join stage? When this option is enabled, participants can request to join the stage during a livestream. This allows them to share their audio, video, or screen with the host and other attendees.
- Automatically add everyone on stage Automatically brings all participants to the stage when enabled.
- Enable chat for everyone Allows all participants to send messages in the live chat.
- Enable private chat The Enable private chat toggle activates Private Chat Mode, allowing participants to send direct messages during a livestream while maintaining host supervision. When enabled, hosts can view and respond to all private messages, whereas participants can only see and reply to messages from the host or their own. Learn more about Private chat mode
- Hide tiles with no media in recording When this option is enabled, any participant who has both their camera and microphone turned off will not appear in the session recording when a screen or specific content is pinned. This helps focus the recording on active speakers and shared content, eliminating empty or inactive video tiles from what is captured. It’s especially useful for creating high-quality recordings where you want viewers to see only the main presentation or those actively participating. Note: Users who turn on their camera or microphone will automatically be shown again in the recording, as long as content is pinned
- Hide tiles with no media Participants with camera and mic off will be hidden from your view when a screen/content is pinned.