Overview
Stand-alone invites allow you to share access to your Public Events without requiring students to register for a full course or cohort. They are ideal for special webinars, bootcamps, workshops, guest sessions, or promotional live events. With stand-alone invites, you can control access, track participation, and easily revoke or reactivate invites as needed. This provides flexibility for both organizers and attendees while keeping your events secure and manageable.Create a stand-alone invite for public events
Use stand-alone invites to give participants access to a public live event through a unique link with the help of the following steps:Enable Live Sessions feature
Before creating a public event and invites, make sure the Live Sessions feature is enabled in your account. Learn how to Manage Features
Create a New Public Event
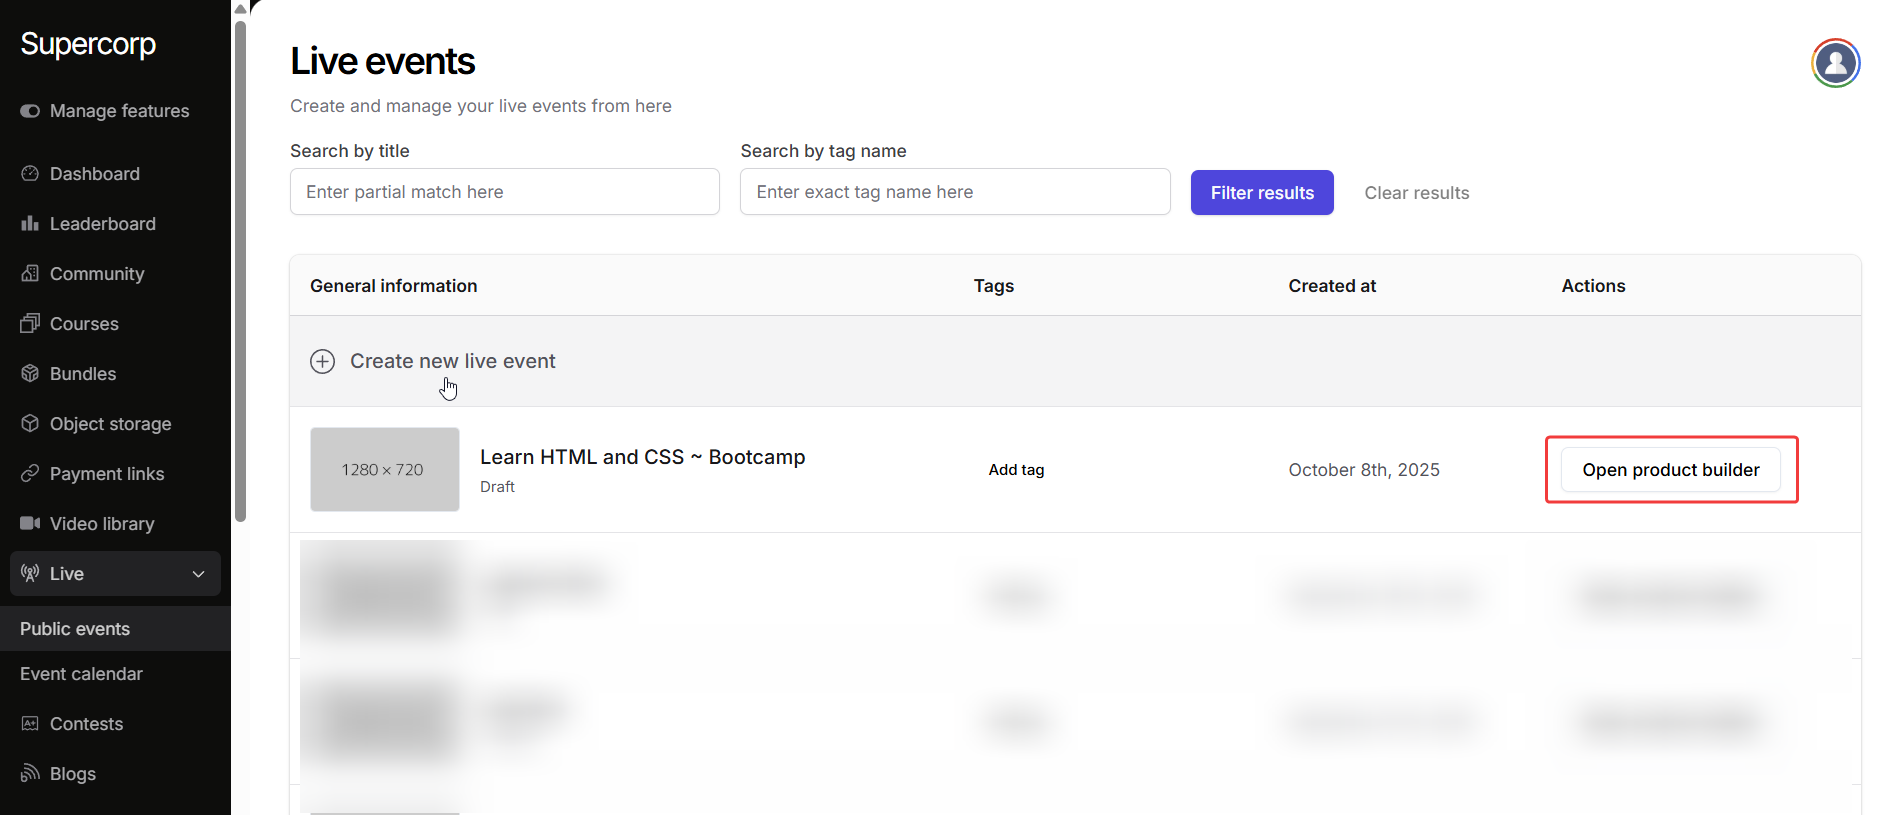
- Navigate to Live → Public Event in your dashboard.
- Click on Create New Event to start a public live session. You can also create invites for previously created live events by clicking Open product builder . Learn more about creating Public Events
Access the Invites section
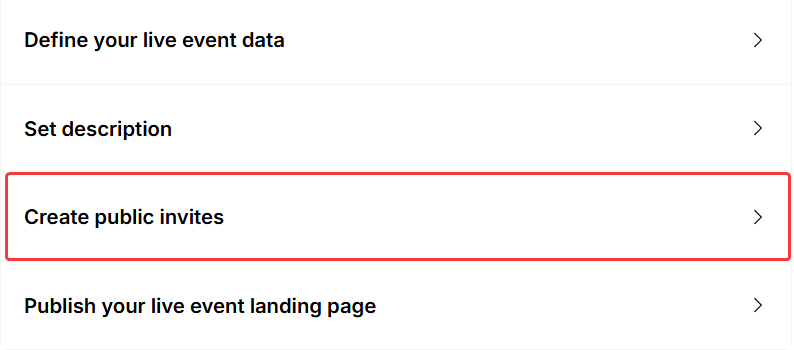
- Click on Create public invites in the landing page builder
- Click on Create new invite to create a new invite ID and a public link.
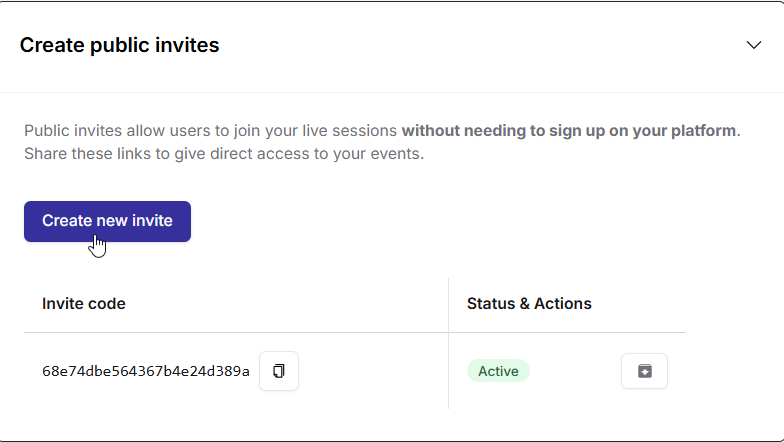
Share and manage the invite
Once the invite is created, you can share the link with participants directly by copying the invite link.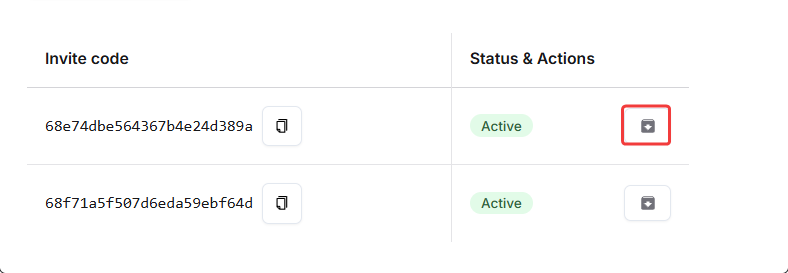 And there it is, you can now share this link directly with new participants to join a public live event!
- To revoke an invite, click the Revoke Invite button in the Status and Actions menu.
- To reactivate an invite, follow the same flow and click Reactivate Invite.
And there it is, you can now share this link directly with new participants to join a public live event!